|
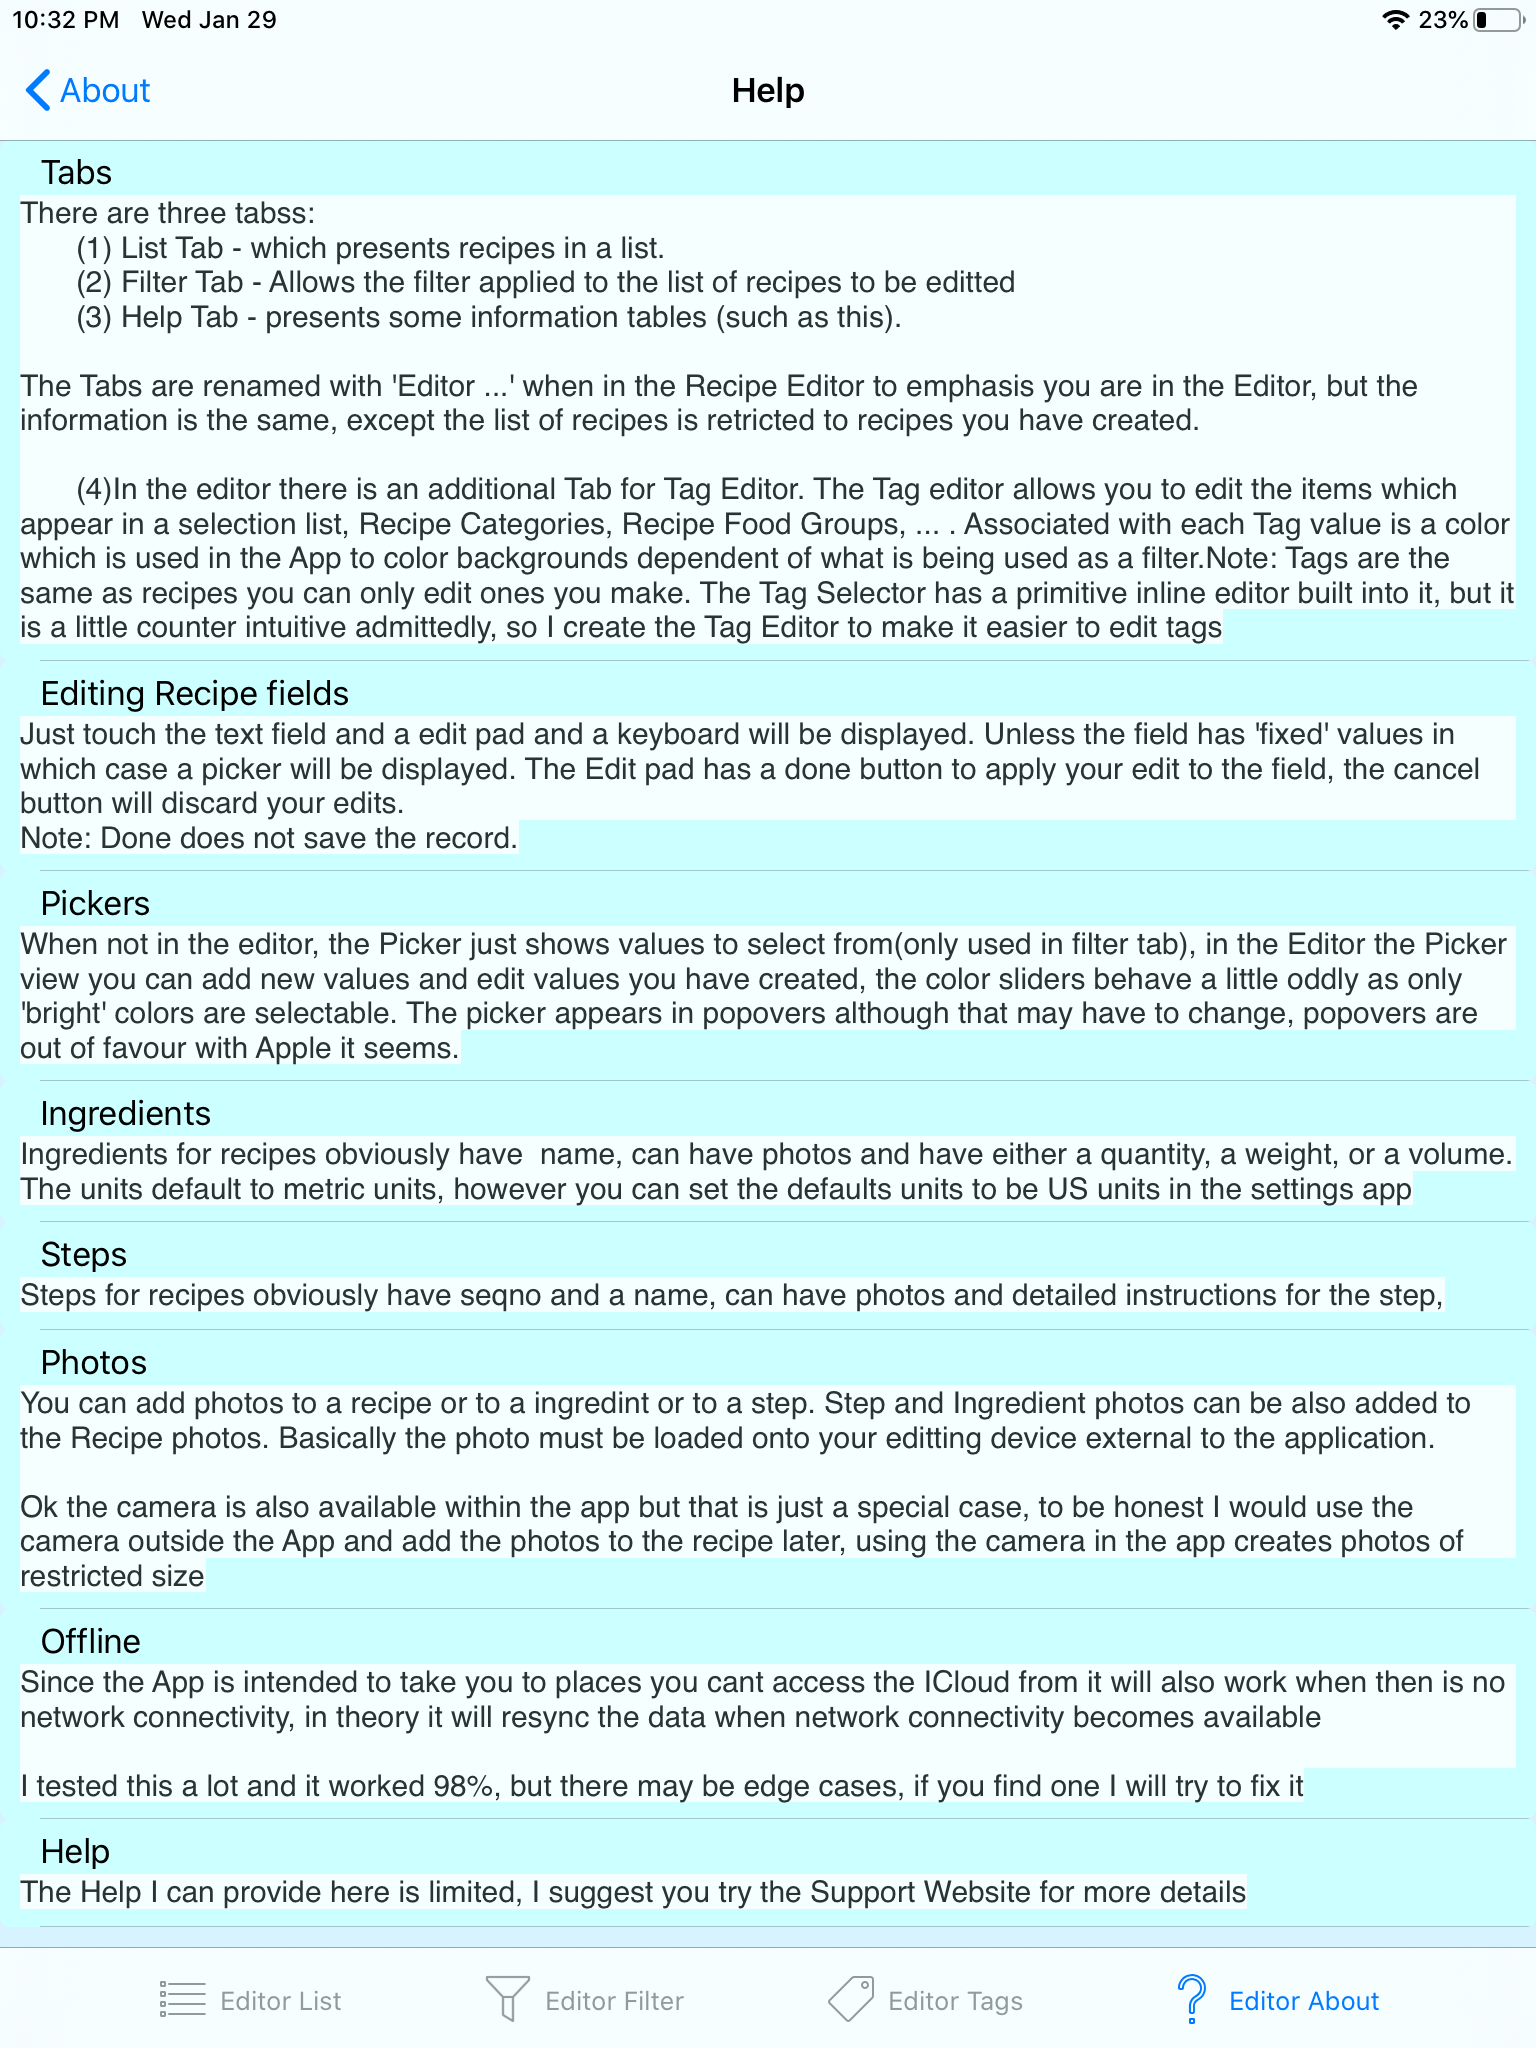
The Application is a tabbed application with four tabs:
Each of the Tabs is essentially an independent application and you should be able to switch between tabs at any time, but don't expect it to take you to the same place in the application.
The List Tab shows the list of recipes that the application holds information about, well at least the subset of those that you have selected with a filter.
The Recipe Editor uses basically the same set of screens but the interactions with the screens are very different.
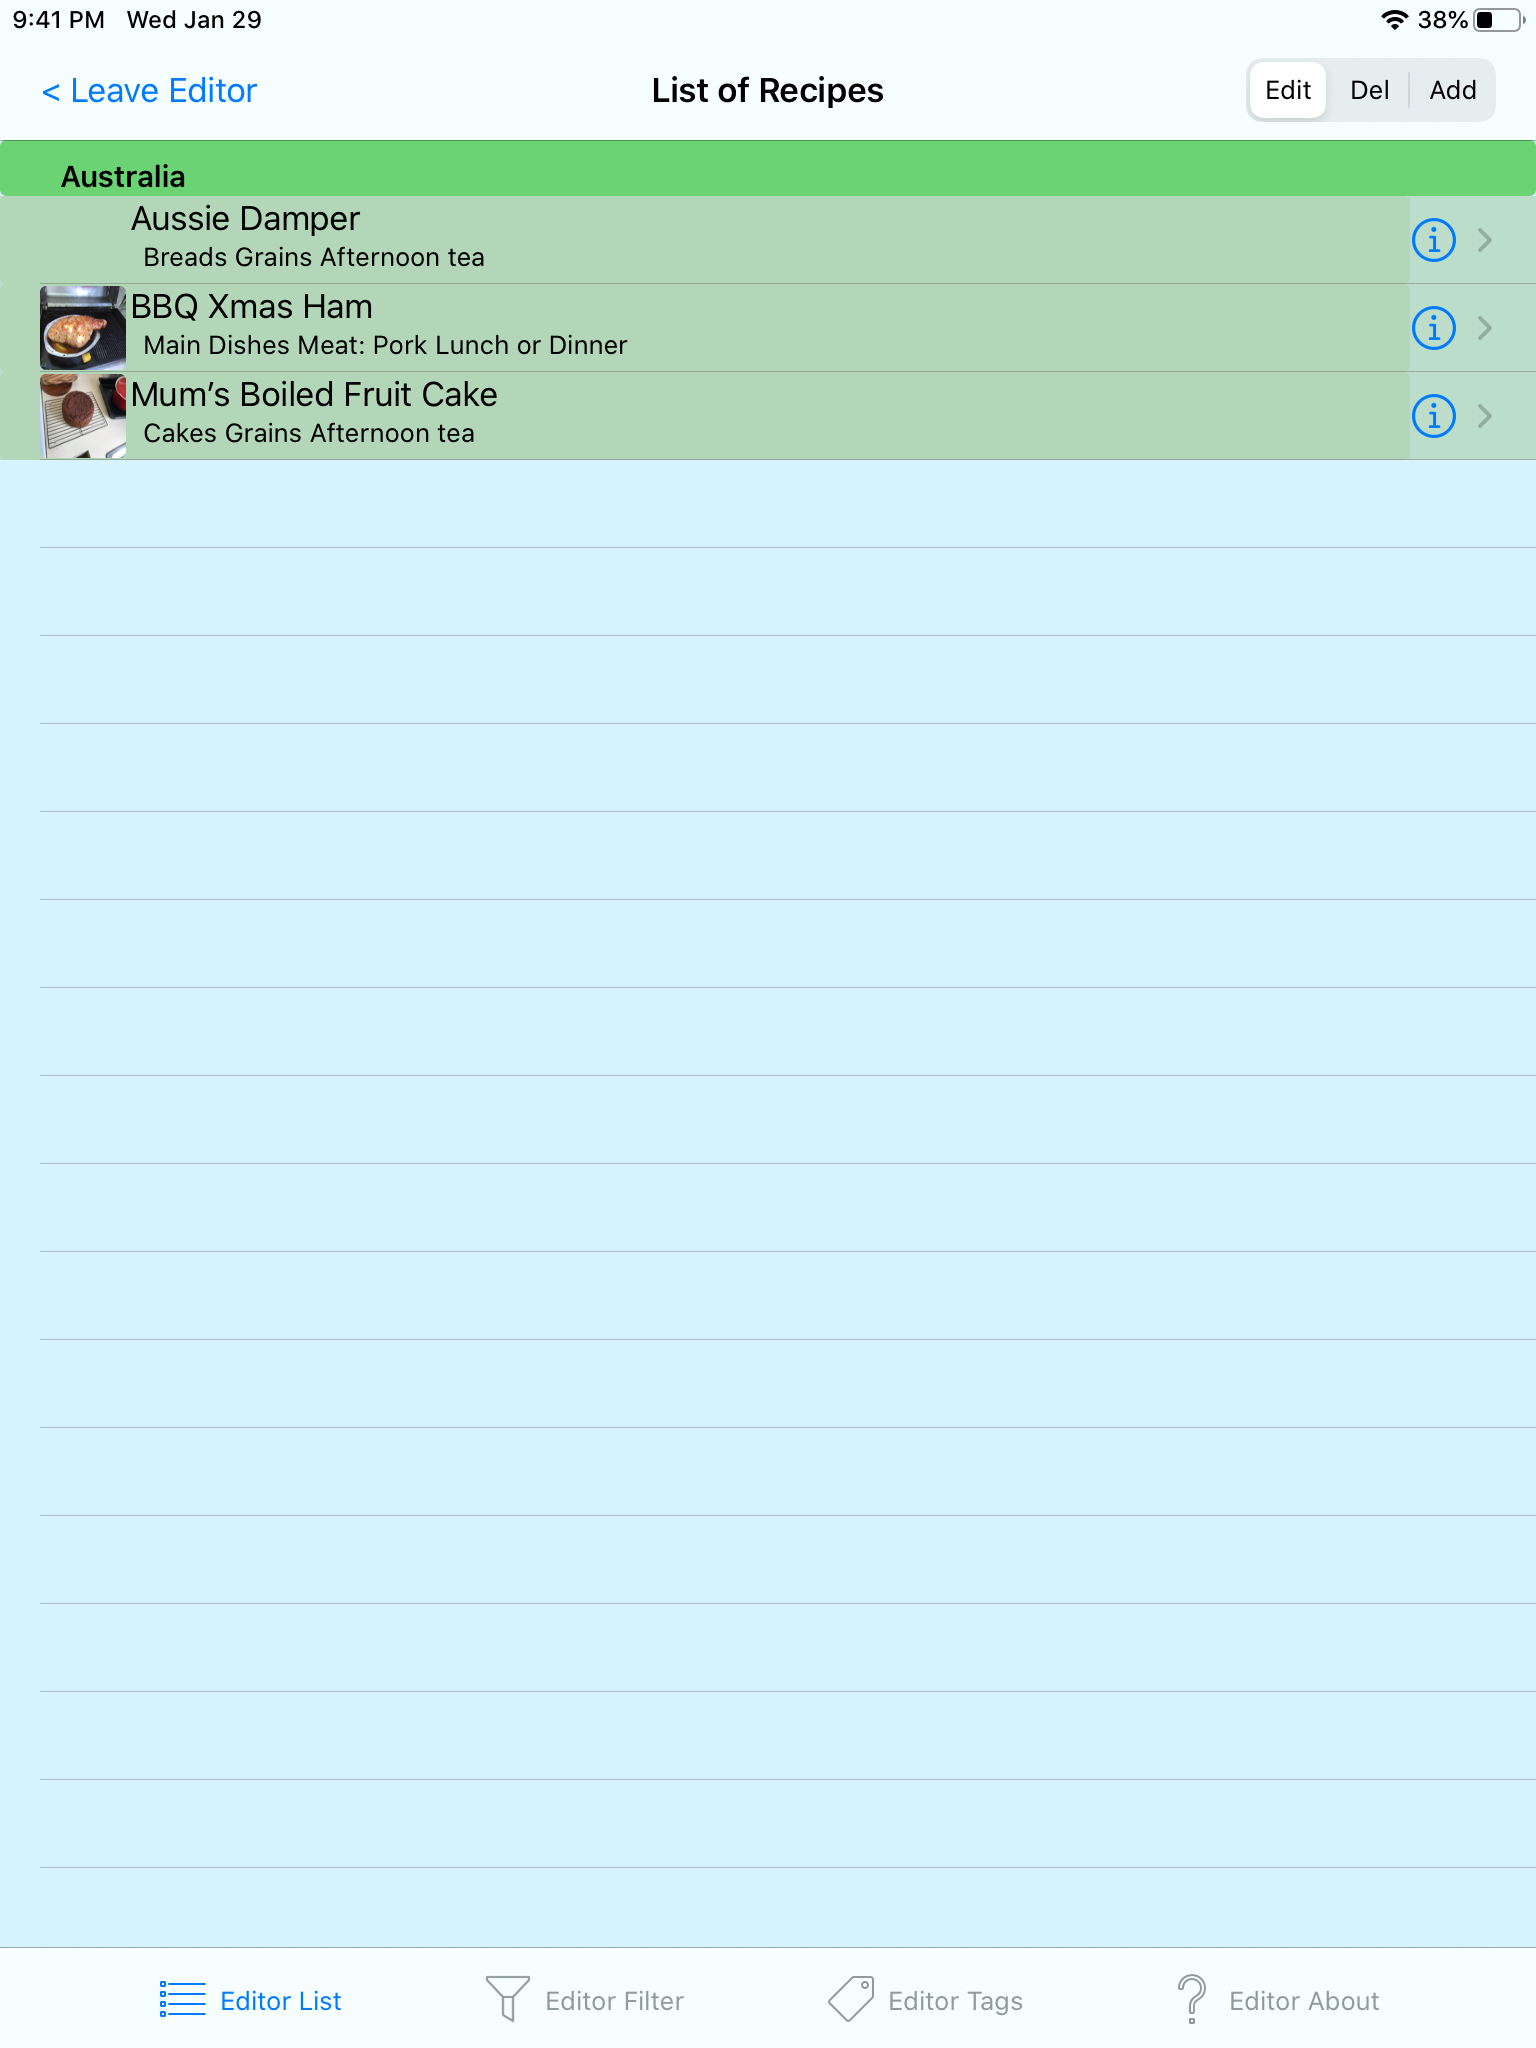
The List Tab not surprisingly provides a list. With no filters applied this will group recipes by countries. Selecting a Recipe will take you too a more detailed description of the Recipe
Associated with each country is a color, and whilst I selected many of the country colors to make what I hope is a pleasant and attractive application, when you throw something open to the world you have to give up some controls, and that includes what color is used for a country.
It is not a free for all, but I can't define everything for everywhere, what would the fun in that be. ! If you don't like your countries color send me a support email and I will see what I can do, I am afraid that pleasing everyone may be impossible(anyone for that matter, everyone being mildly irate will have to do) !. But more on colors when we get to filters.
Occasionally on startup, the recipes are shown in different colours. This is just because the app is busy reading the information about countries, regions etc, it will quickly catch up and the correct colours will be used. This is a tad annoying I admit.
The "Tag" editor which is only in the Editor part of the App, lets you edit your "Tag" values, values that appear in selection lists. Countries, Regions, Towns etc.
It only lets you edit tags you have created (in line with that philosophy throughout the App).
It provides a colour wheel, and sliders in two colors models to enable easy selection of the colour associated with your tag.

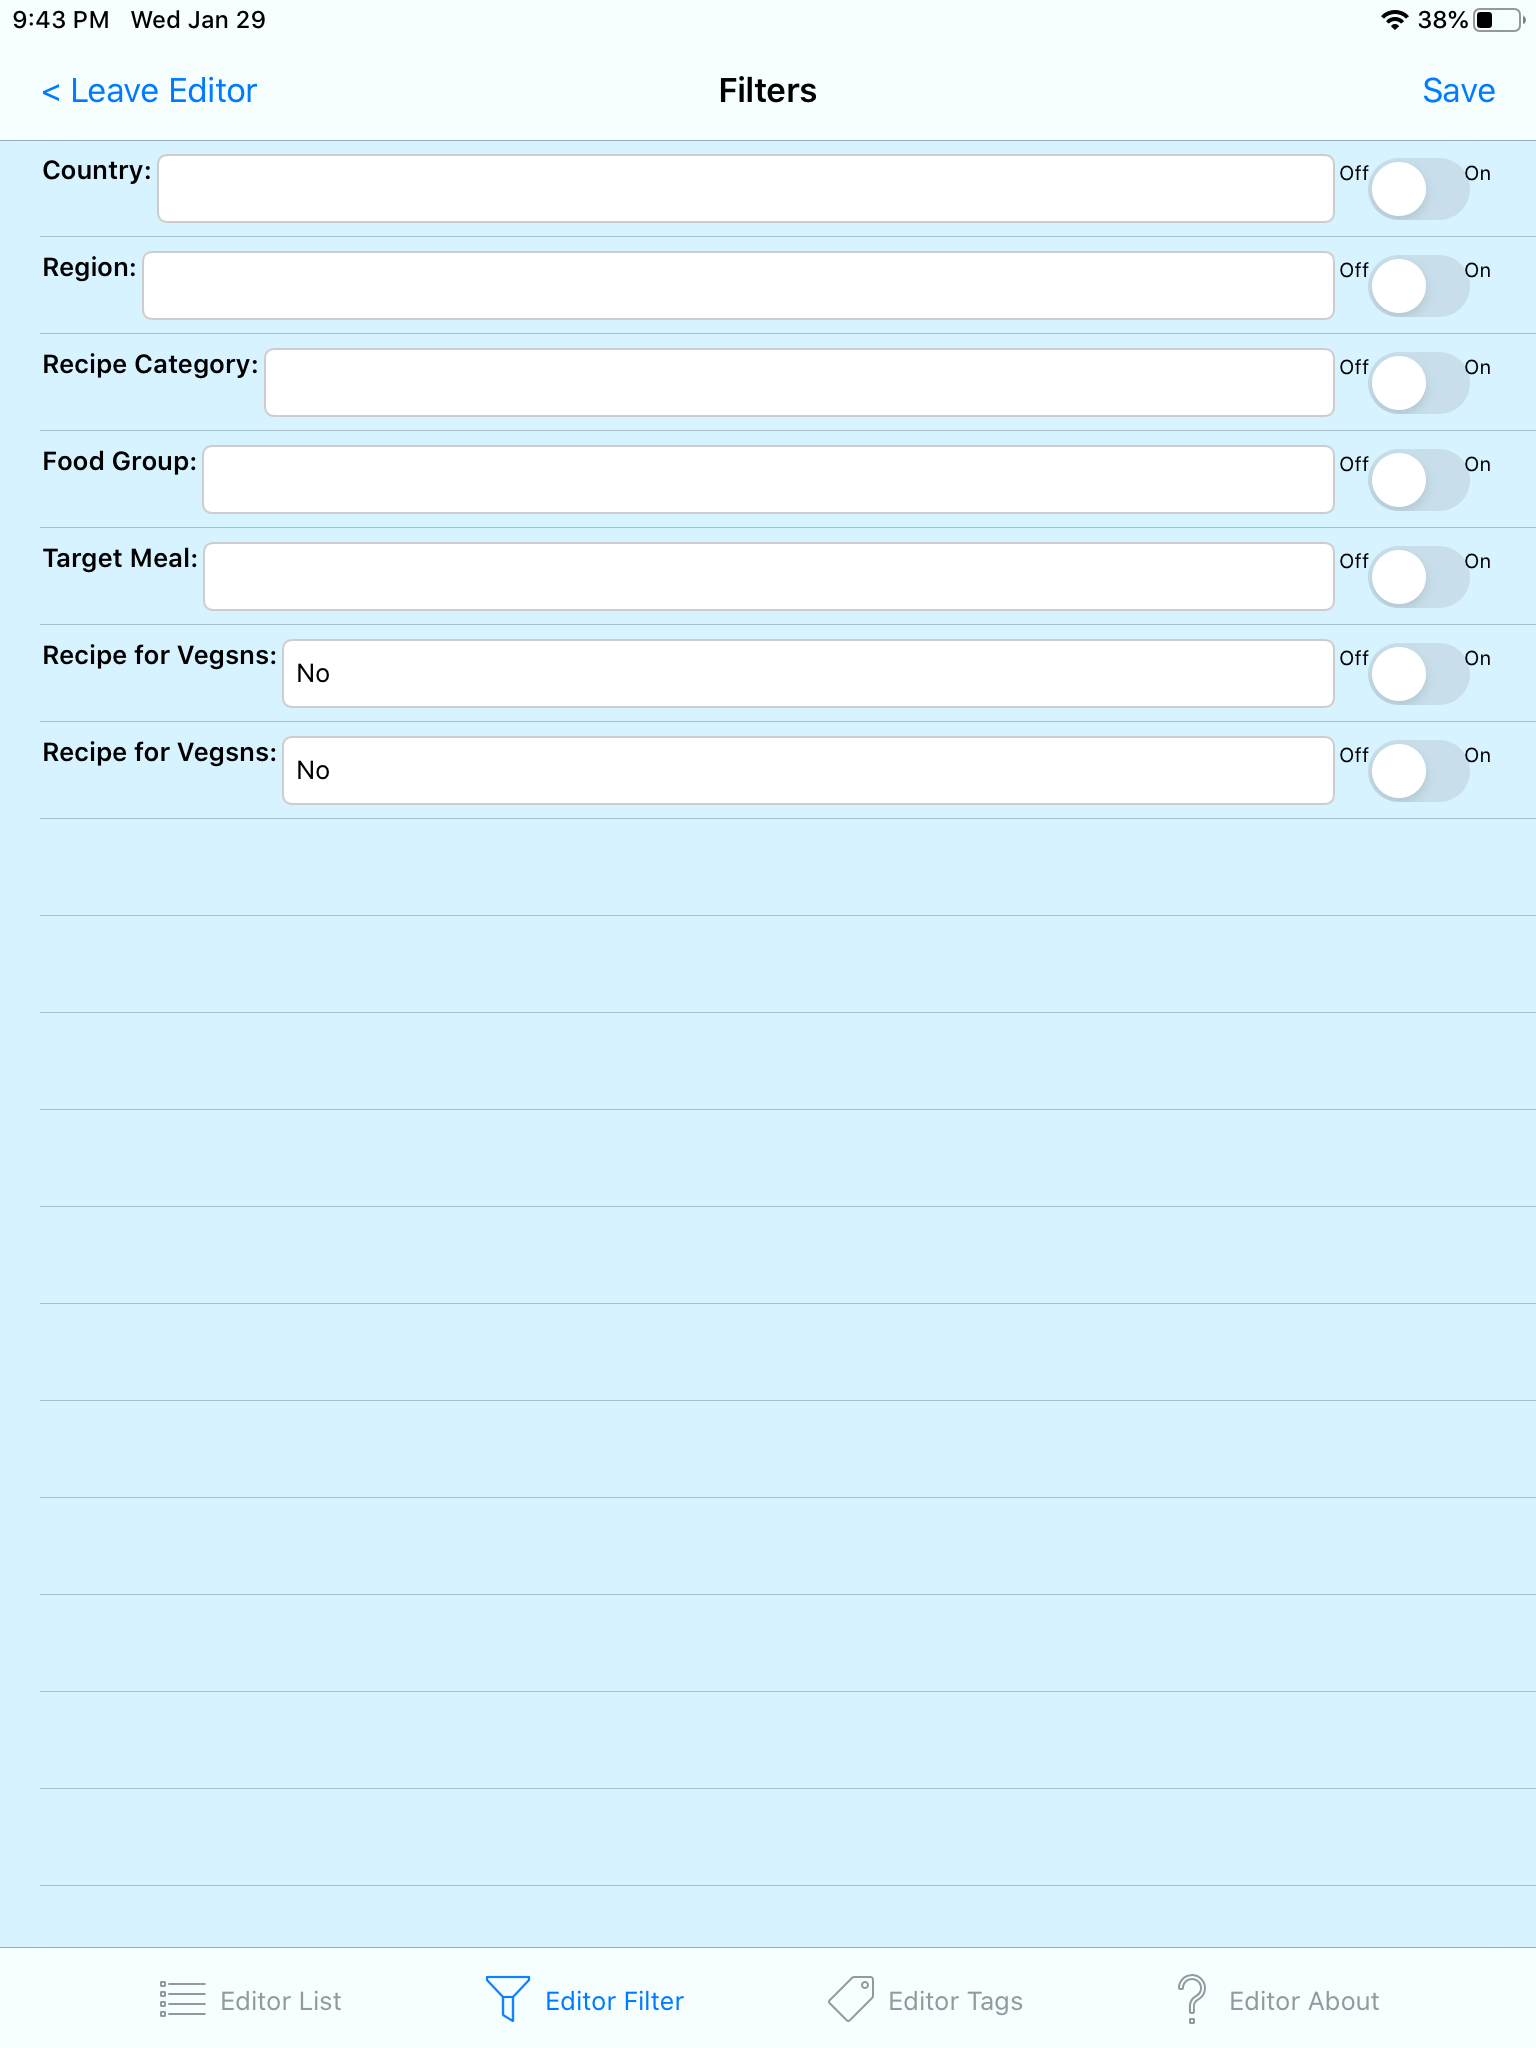
See the Filters Page
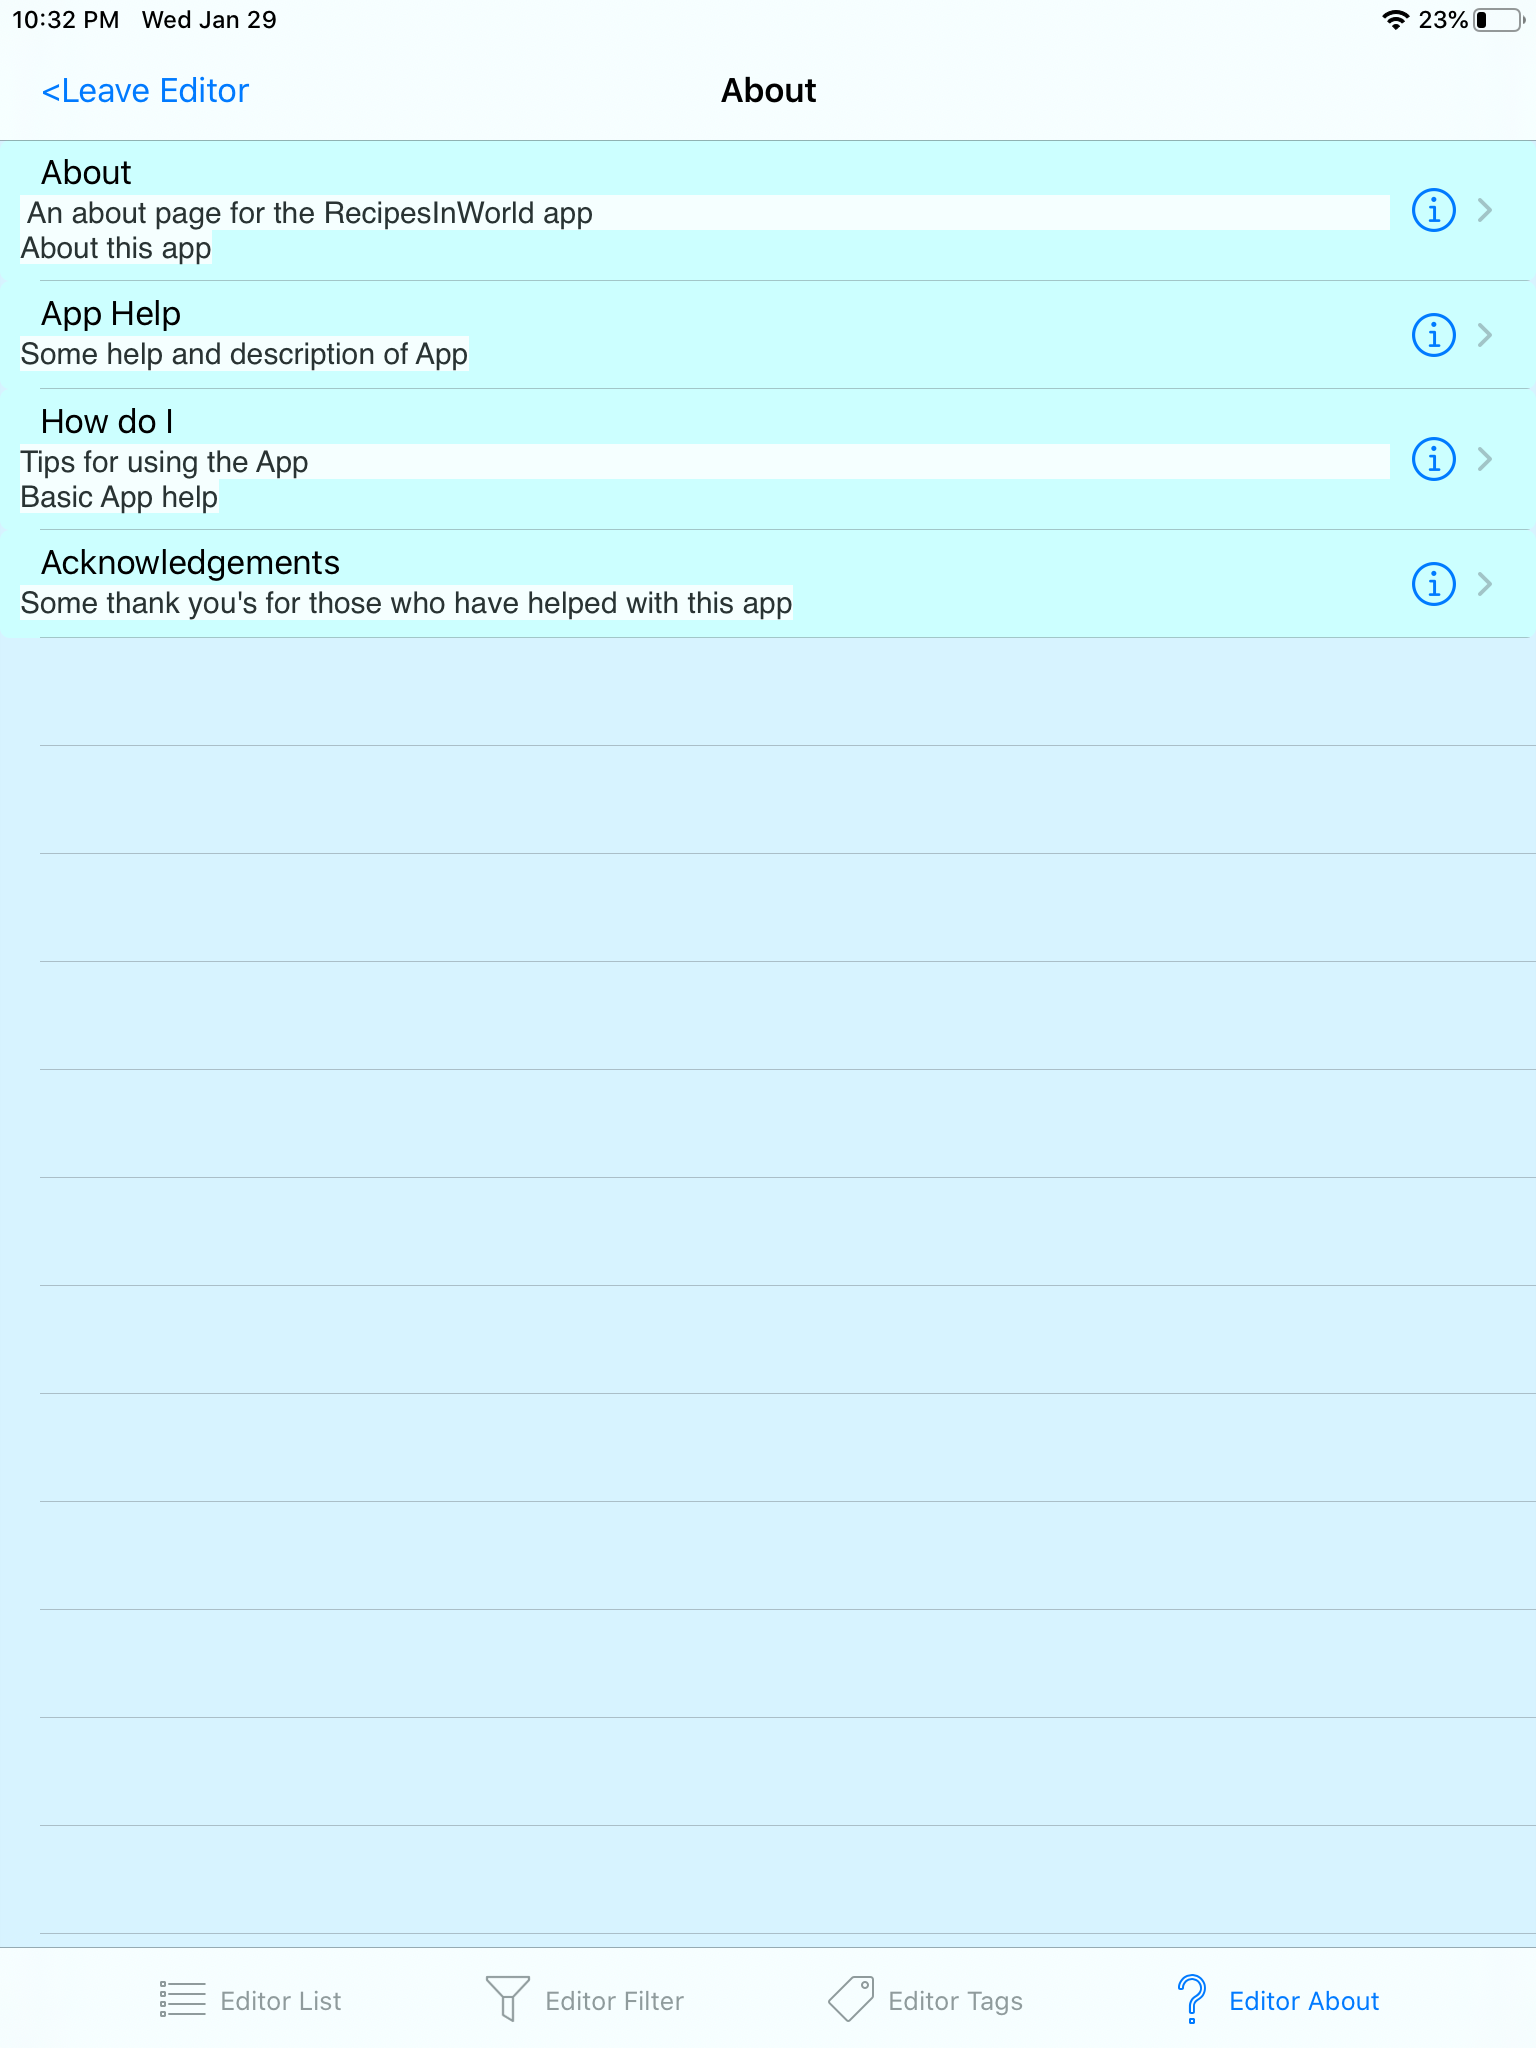
The About Tab provides you access to information about the application, some useful generally trekking advice, and some simple help about the application. There are several pages of information in here, basically cascading information screens, some of it is very basic stuff, so most trekers will tsk tsk me for wasting their time, but this App is not just for experienced trekers.
The About subscreen provides information about this application.
The Help subscreen provides help infromation for the App.
The Leave No Trace subscreen, my version of a Greenie message, enjoy the environment but try not to destroy it in the process
The BioSecurity sunscreen, this about ensuring we don't spread disease more tan we have to,
The How do I subscreen gives some basic help information for the application.A very cut down version of the information provided here.
The Acknowledgements subscreen, some thanks to people who have helped with this application,
Each of the Tabs is essentially an independent application and you should be able to switch between tabs at any time, but don't expect it to take you to the same place in the application, the List and Map Tabs essentially are front ends on the same application, but they are largely independent copies of the same application.
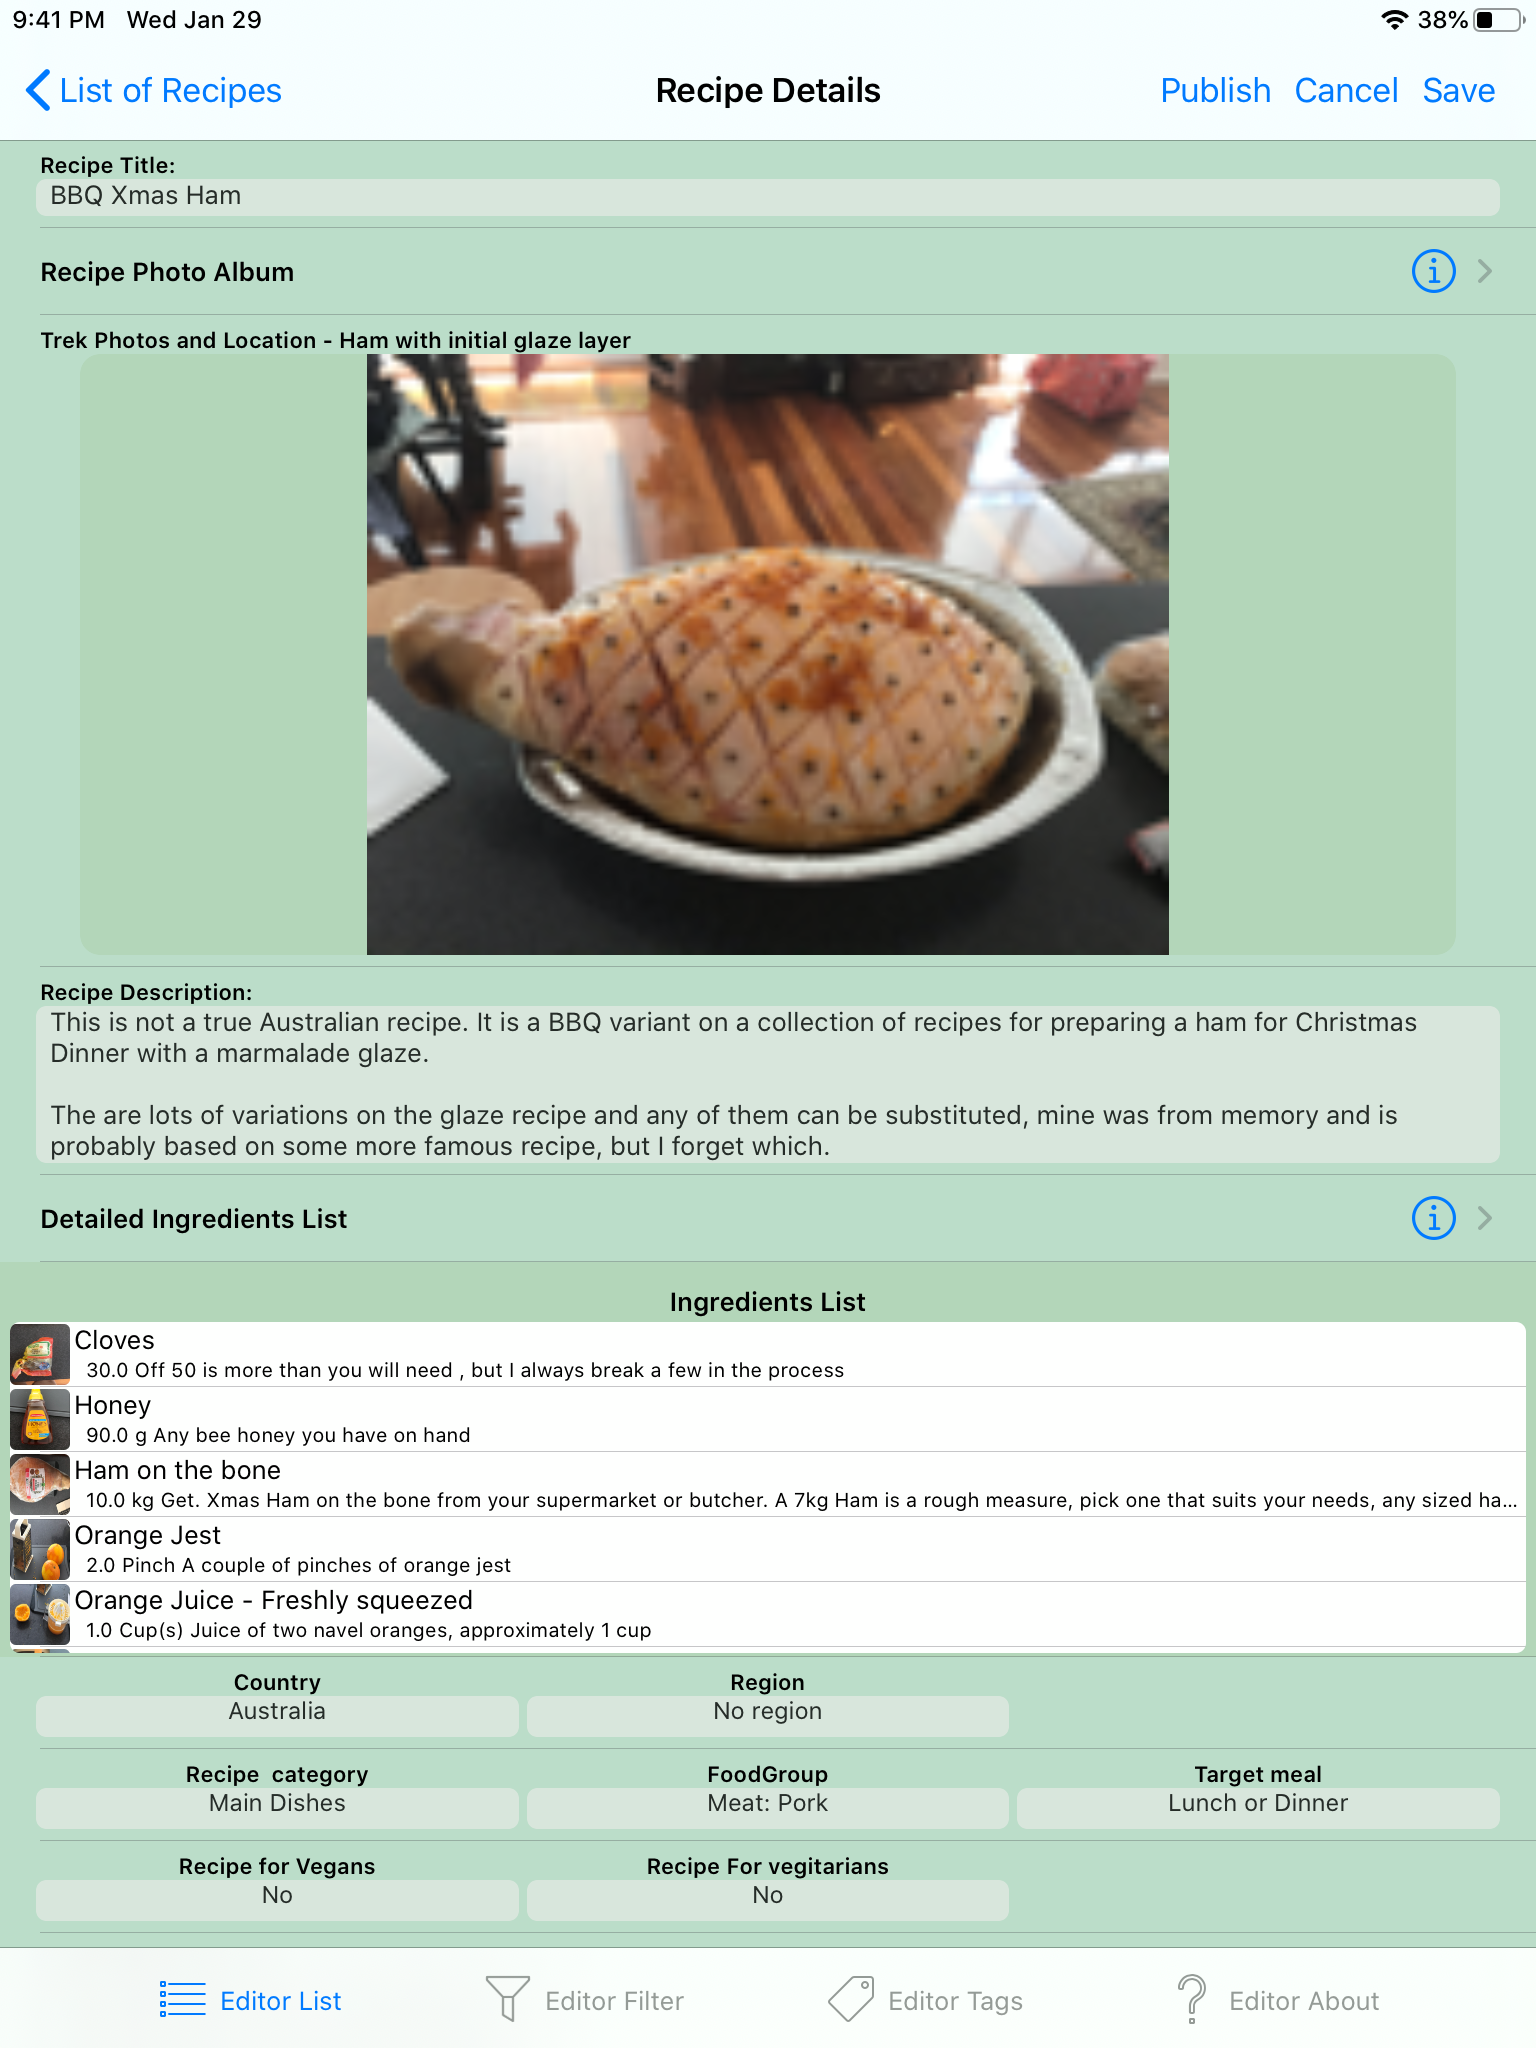
What information is available is variable, as it up to the trek author to descide what information should be presented, but the information that can be presented is as follows:
This screen presents a list of Ingredients showing a little more information than the list within the Recipe Details Screenst.
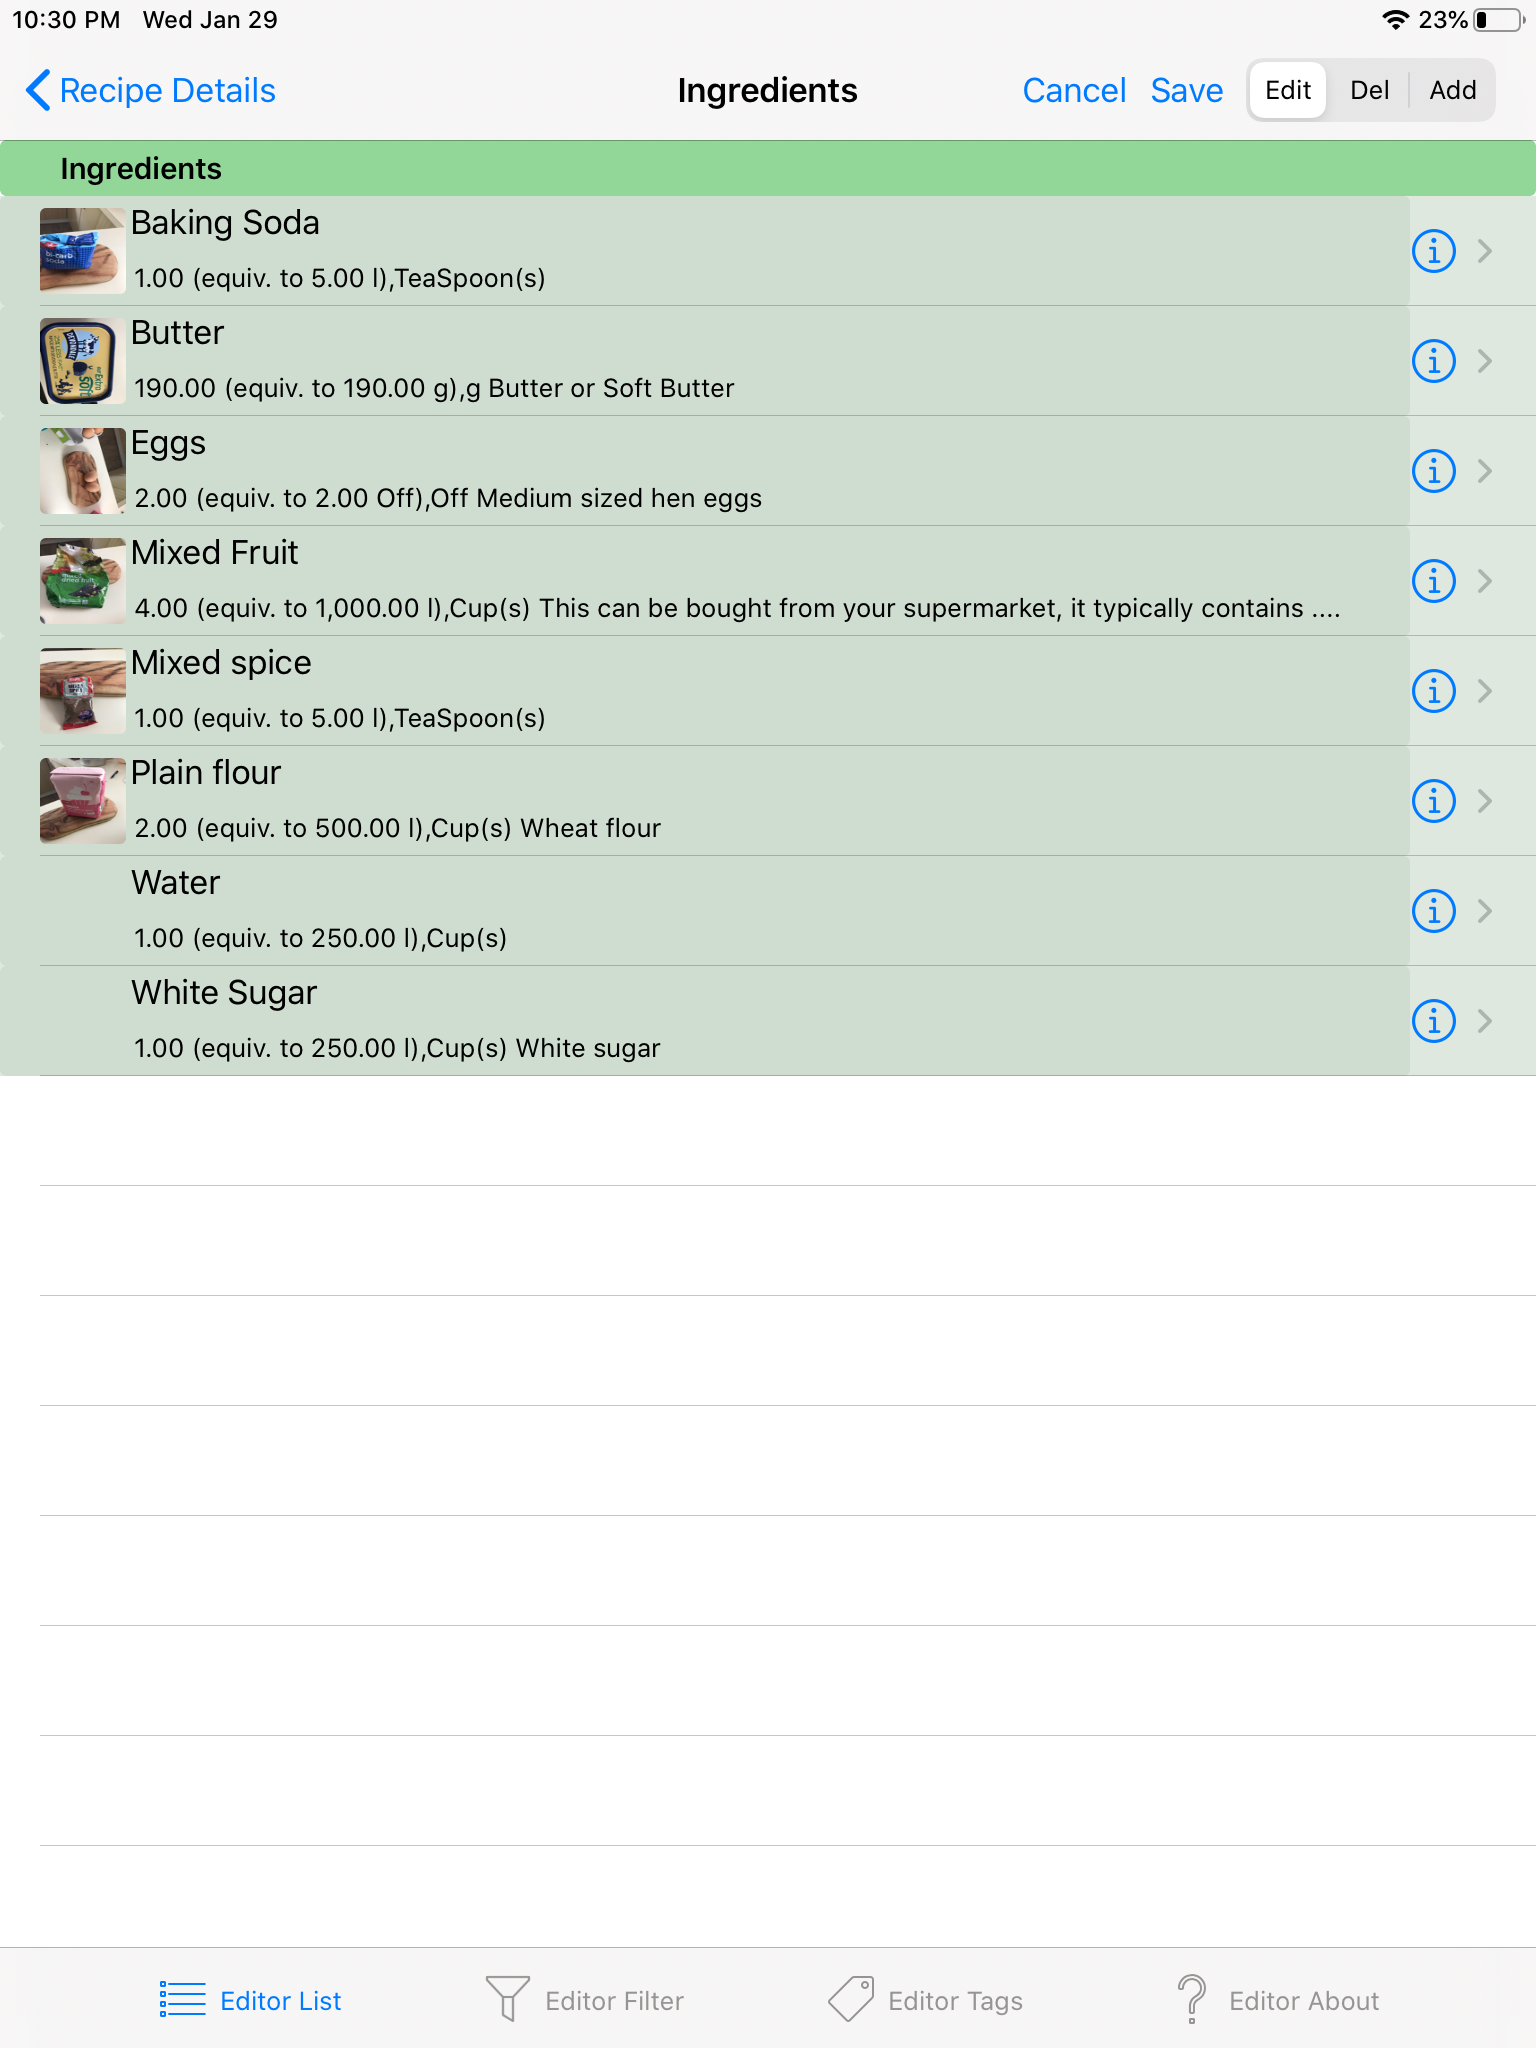
The List is primarily used for editing where it allows Ingredients to be added or remove.
This screen screen shows detailed information about an ingredient.
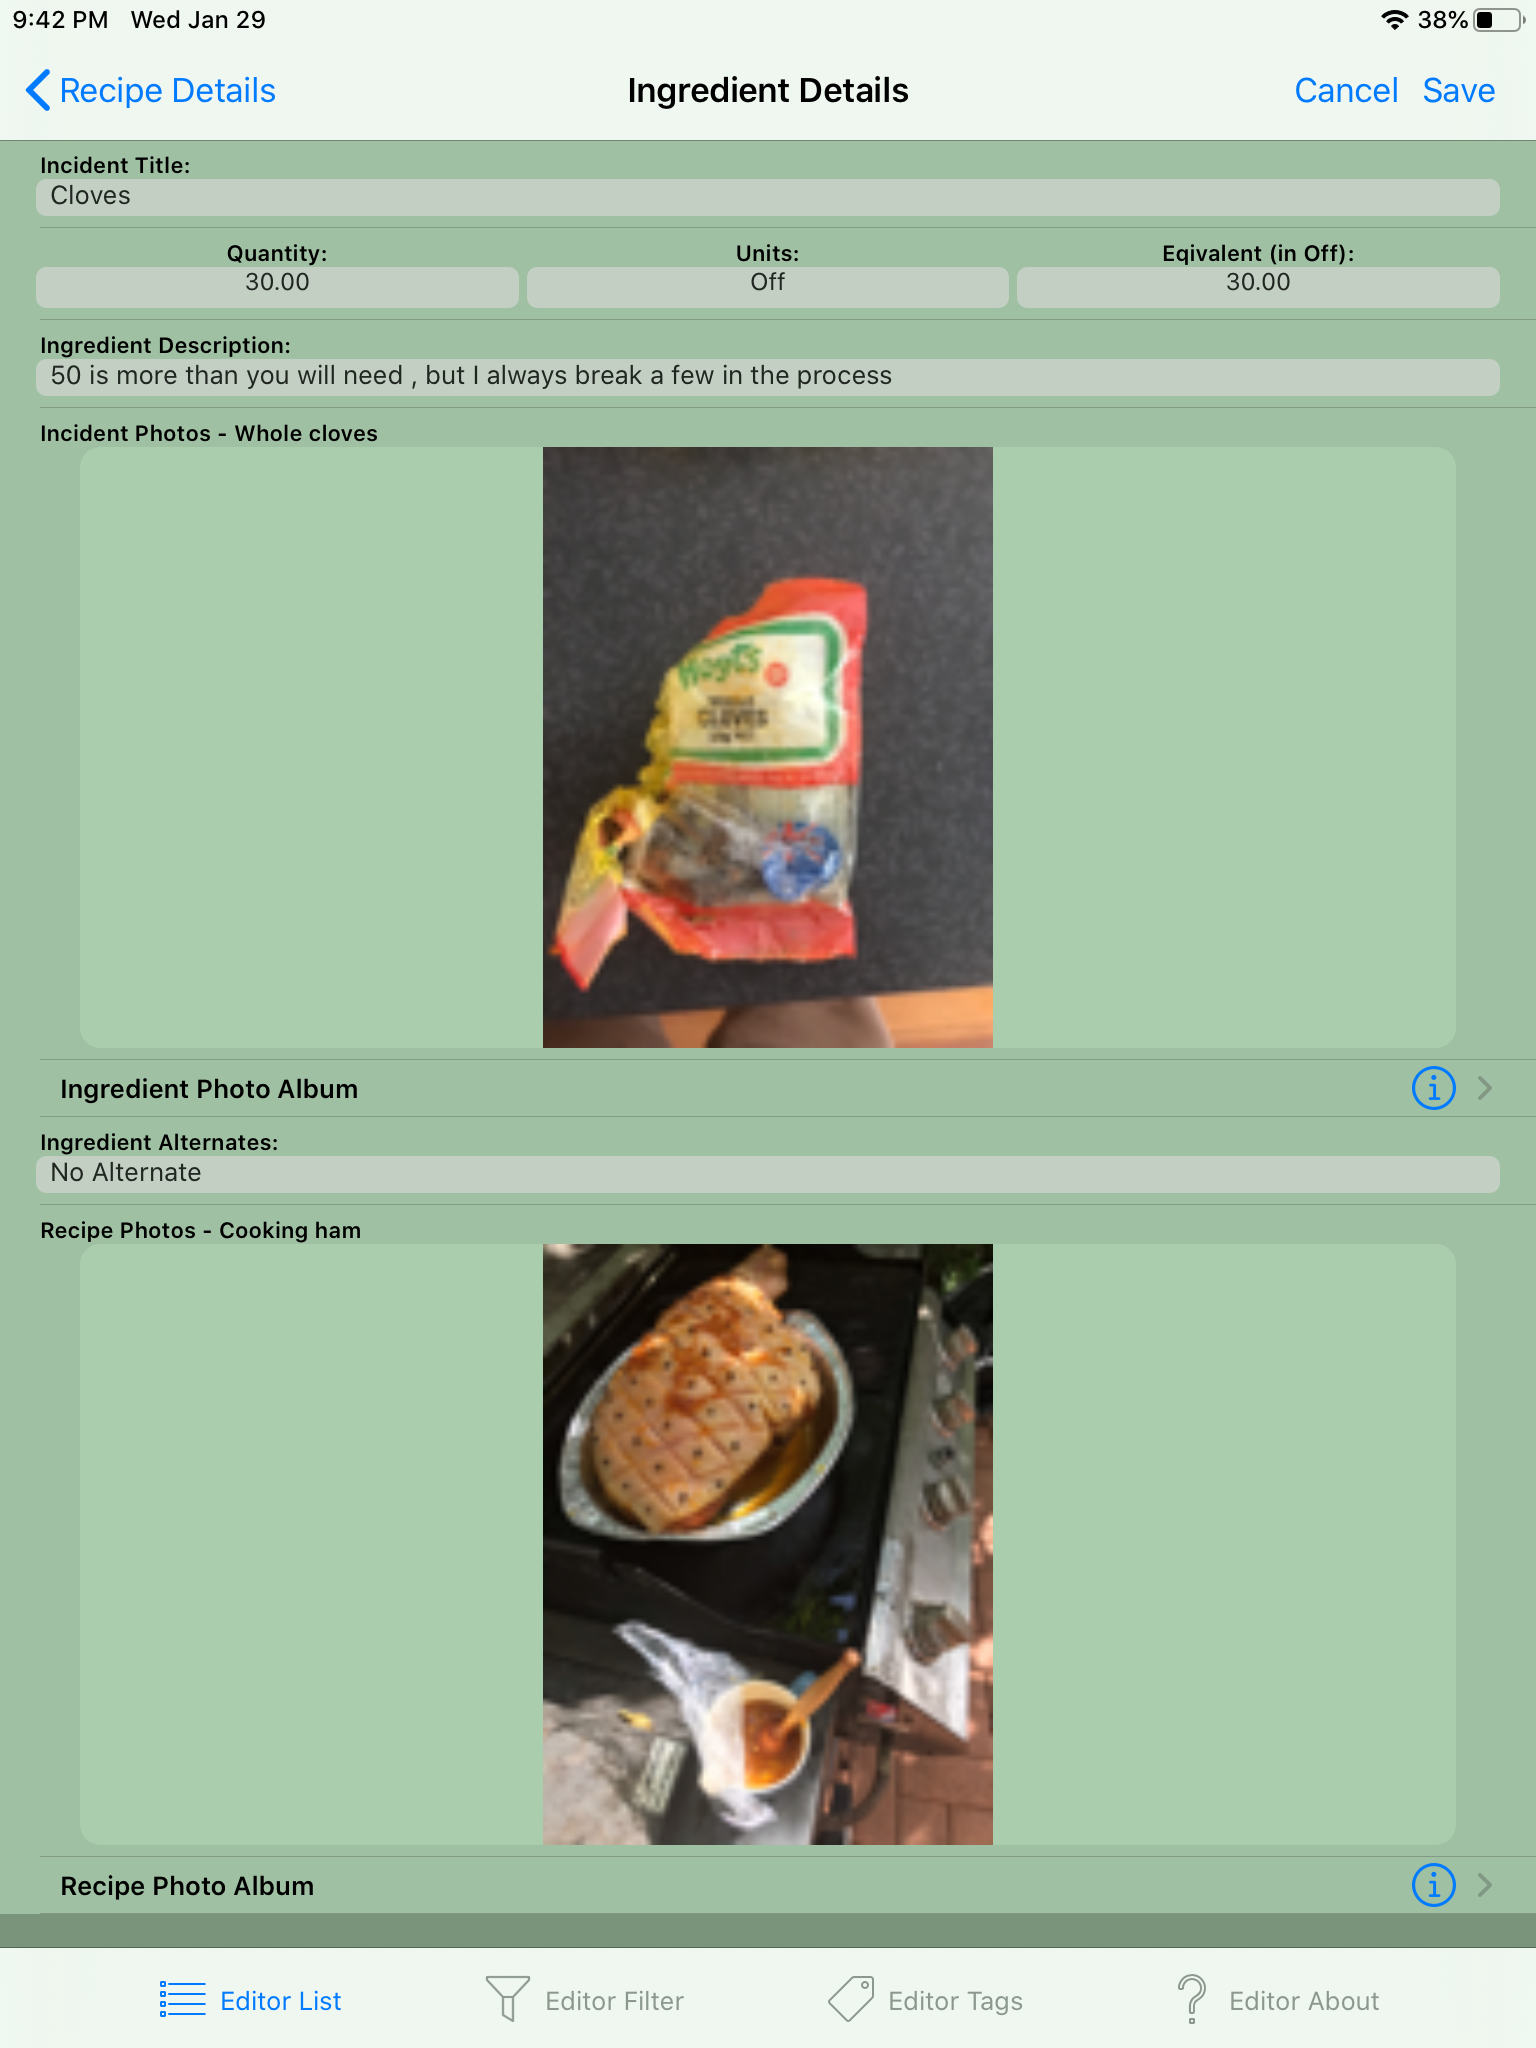
This may provide a detailed description of the route point, and also any photos associated with the RoutePoint.
The Trek PhotoAlbum is aslo available, although that is mainly for the trek editors benefit I found.
The location of the route point is reflected on the map.
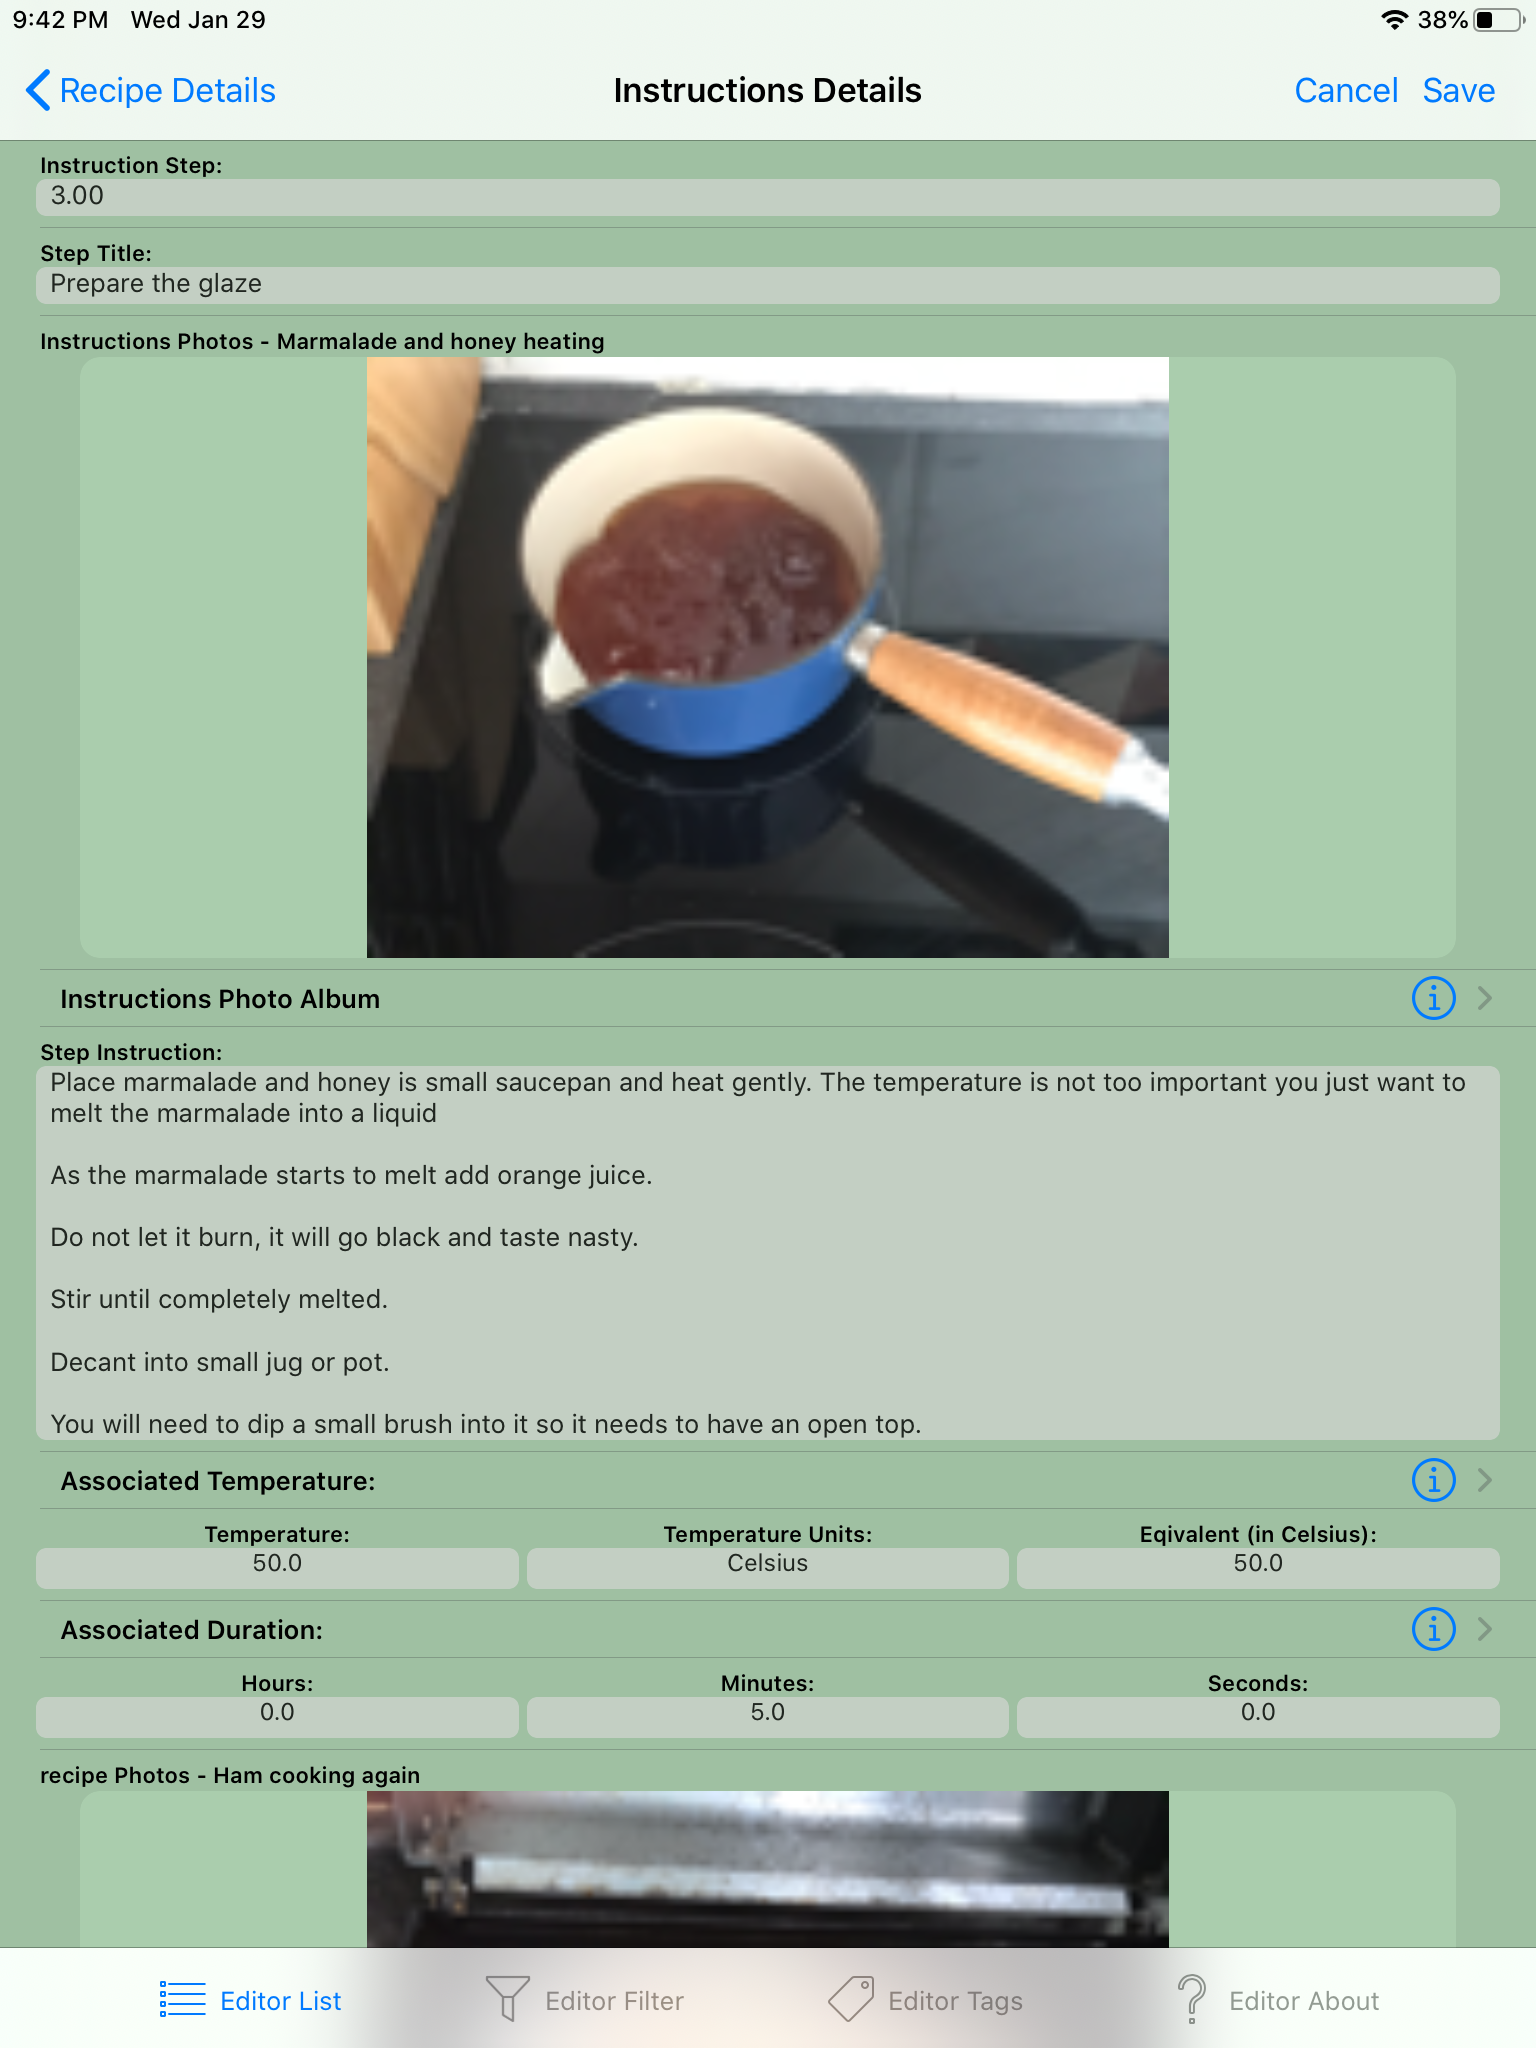
This screen presents a list of Instructions showing a little more information than the list within the Recipe Details Screenst.

The List is primarily used for editing where it allows Ingredients to be added or remove.
This screen screen shows detailed information about a highlight.
This may provide a detailed description of the highlight, and also may include photos relevant to the highlight.
The highlight location is shown on the map display
There may be a photo album associated with the trek, with a route point or with a highlight. They are all displayed with the same screen.
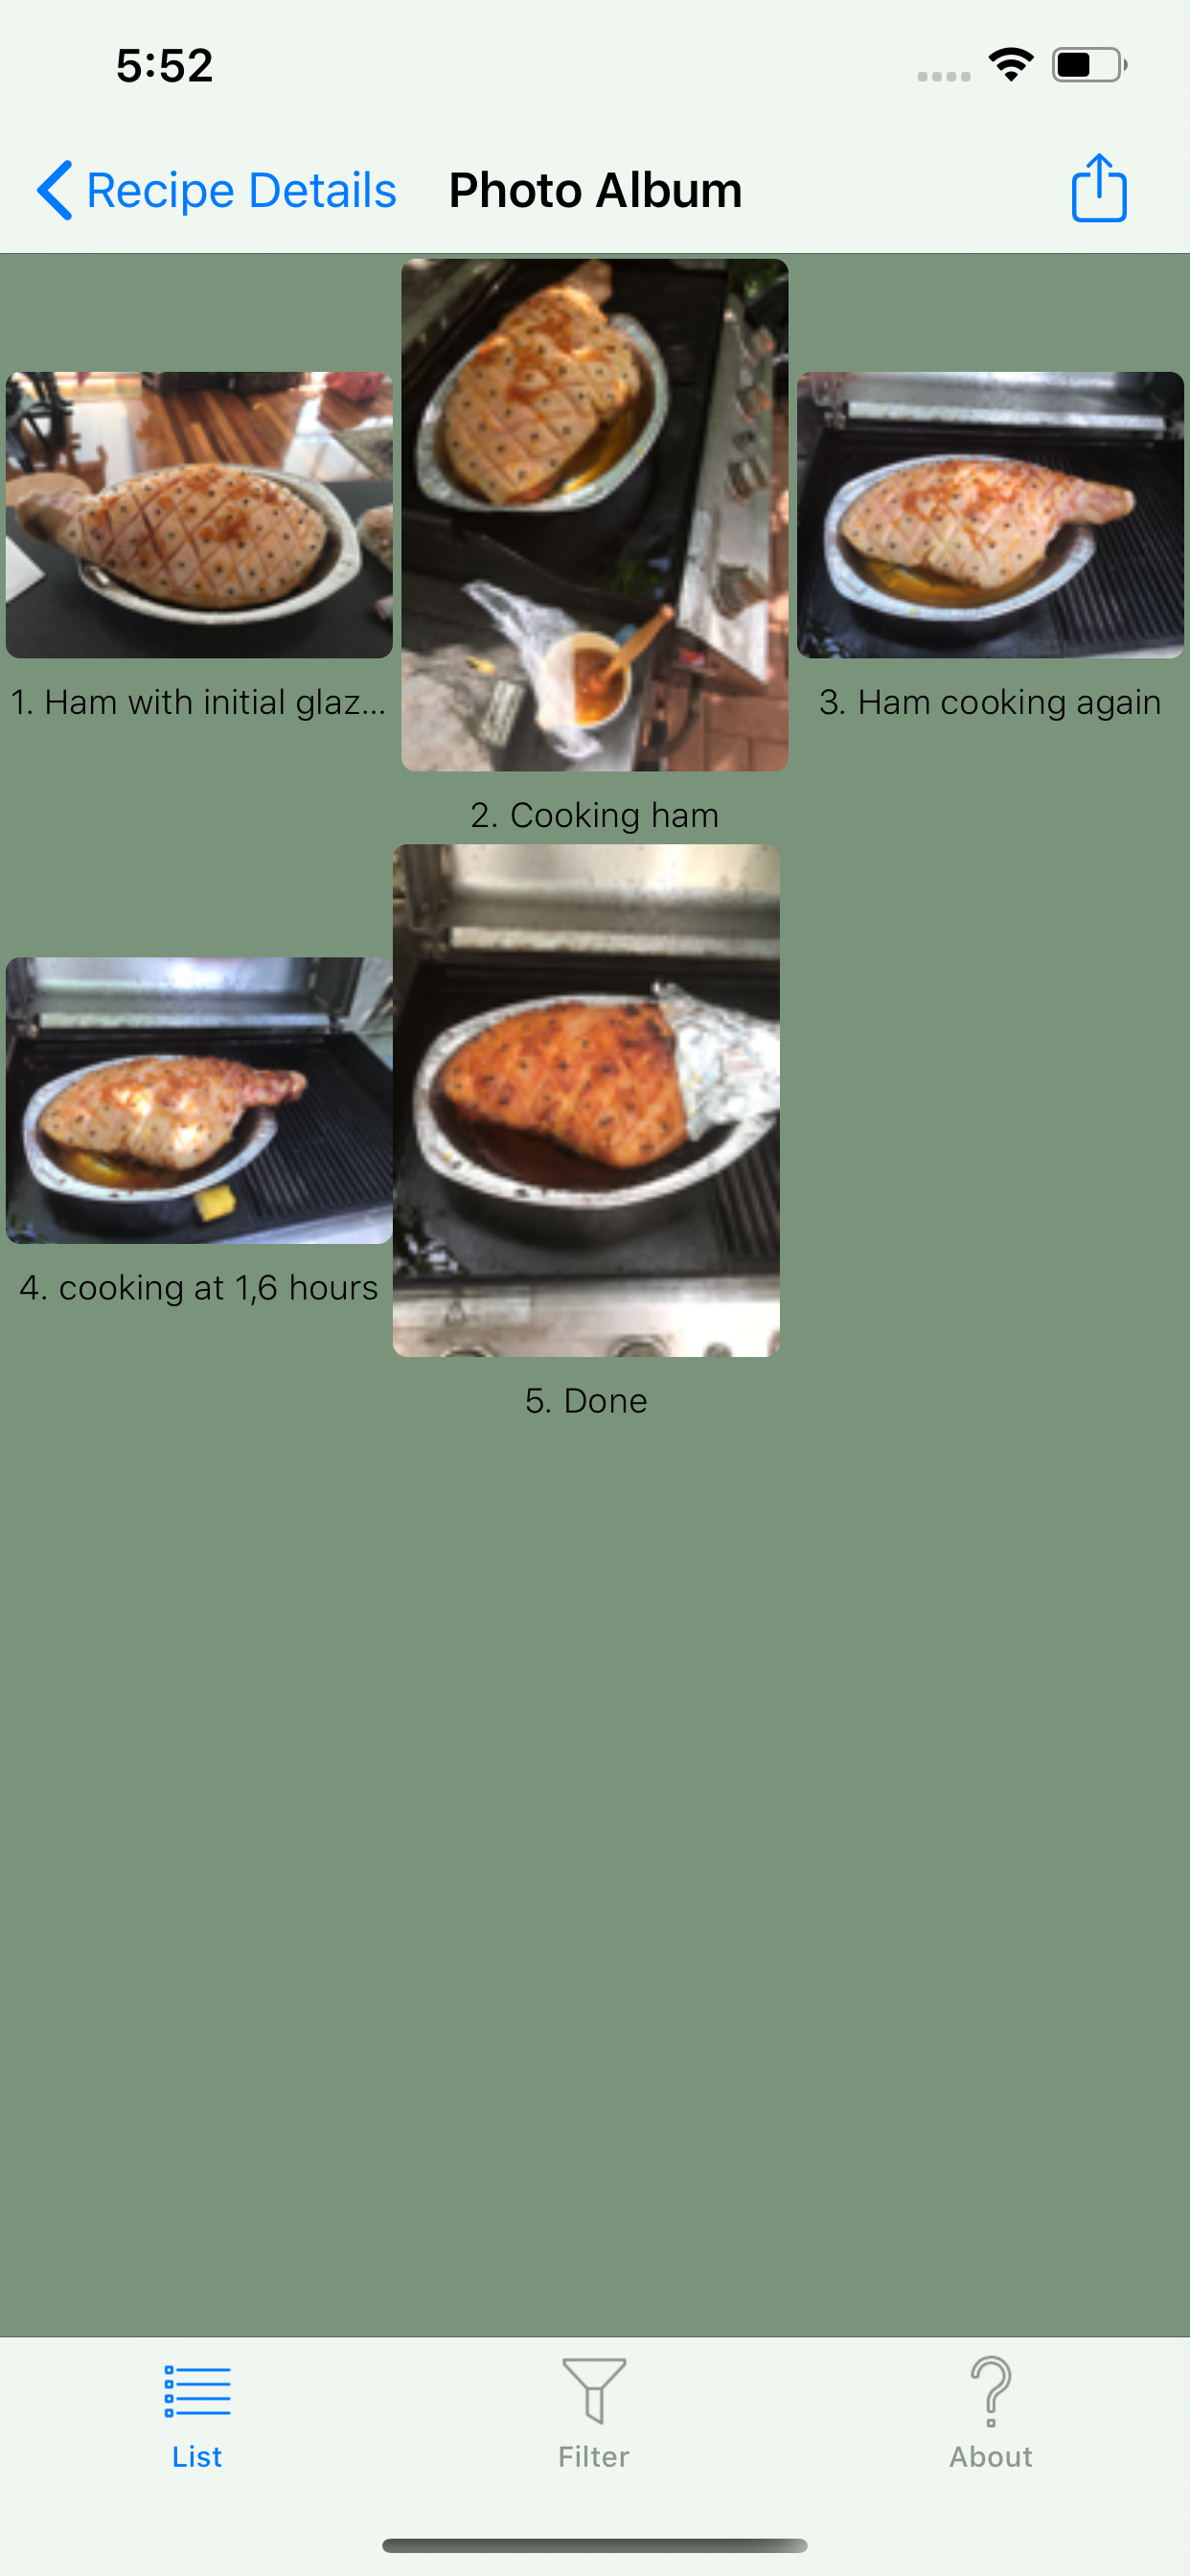 The screen presents a grid of photos. This trek has only two photos, but that is just because it was all I added to it.
To keep the trek loading time down to something reasonable, when you save an image within the Application it will constrain the size of the image somewhat. This should have no impact on you unless you share the images through the App, you will find they are smaller than the orginal images.
This same screen is used for all the photo albums. You can have a collection of photos associated with a trek, with route points and with highlights.
The photos are shown with a short title in 3 wide by n row grid. Naturally it will scroll to show any number of photos.
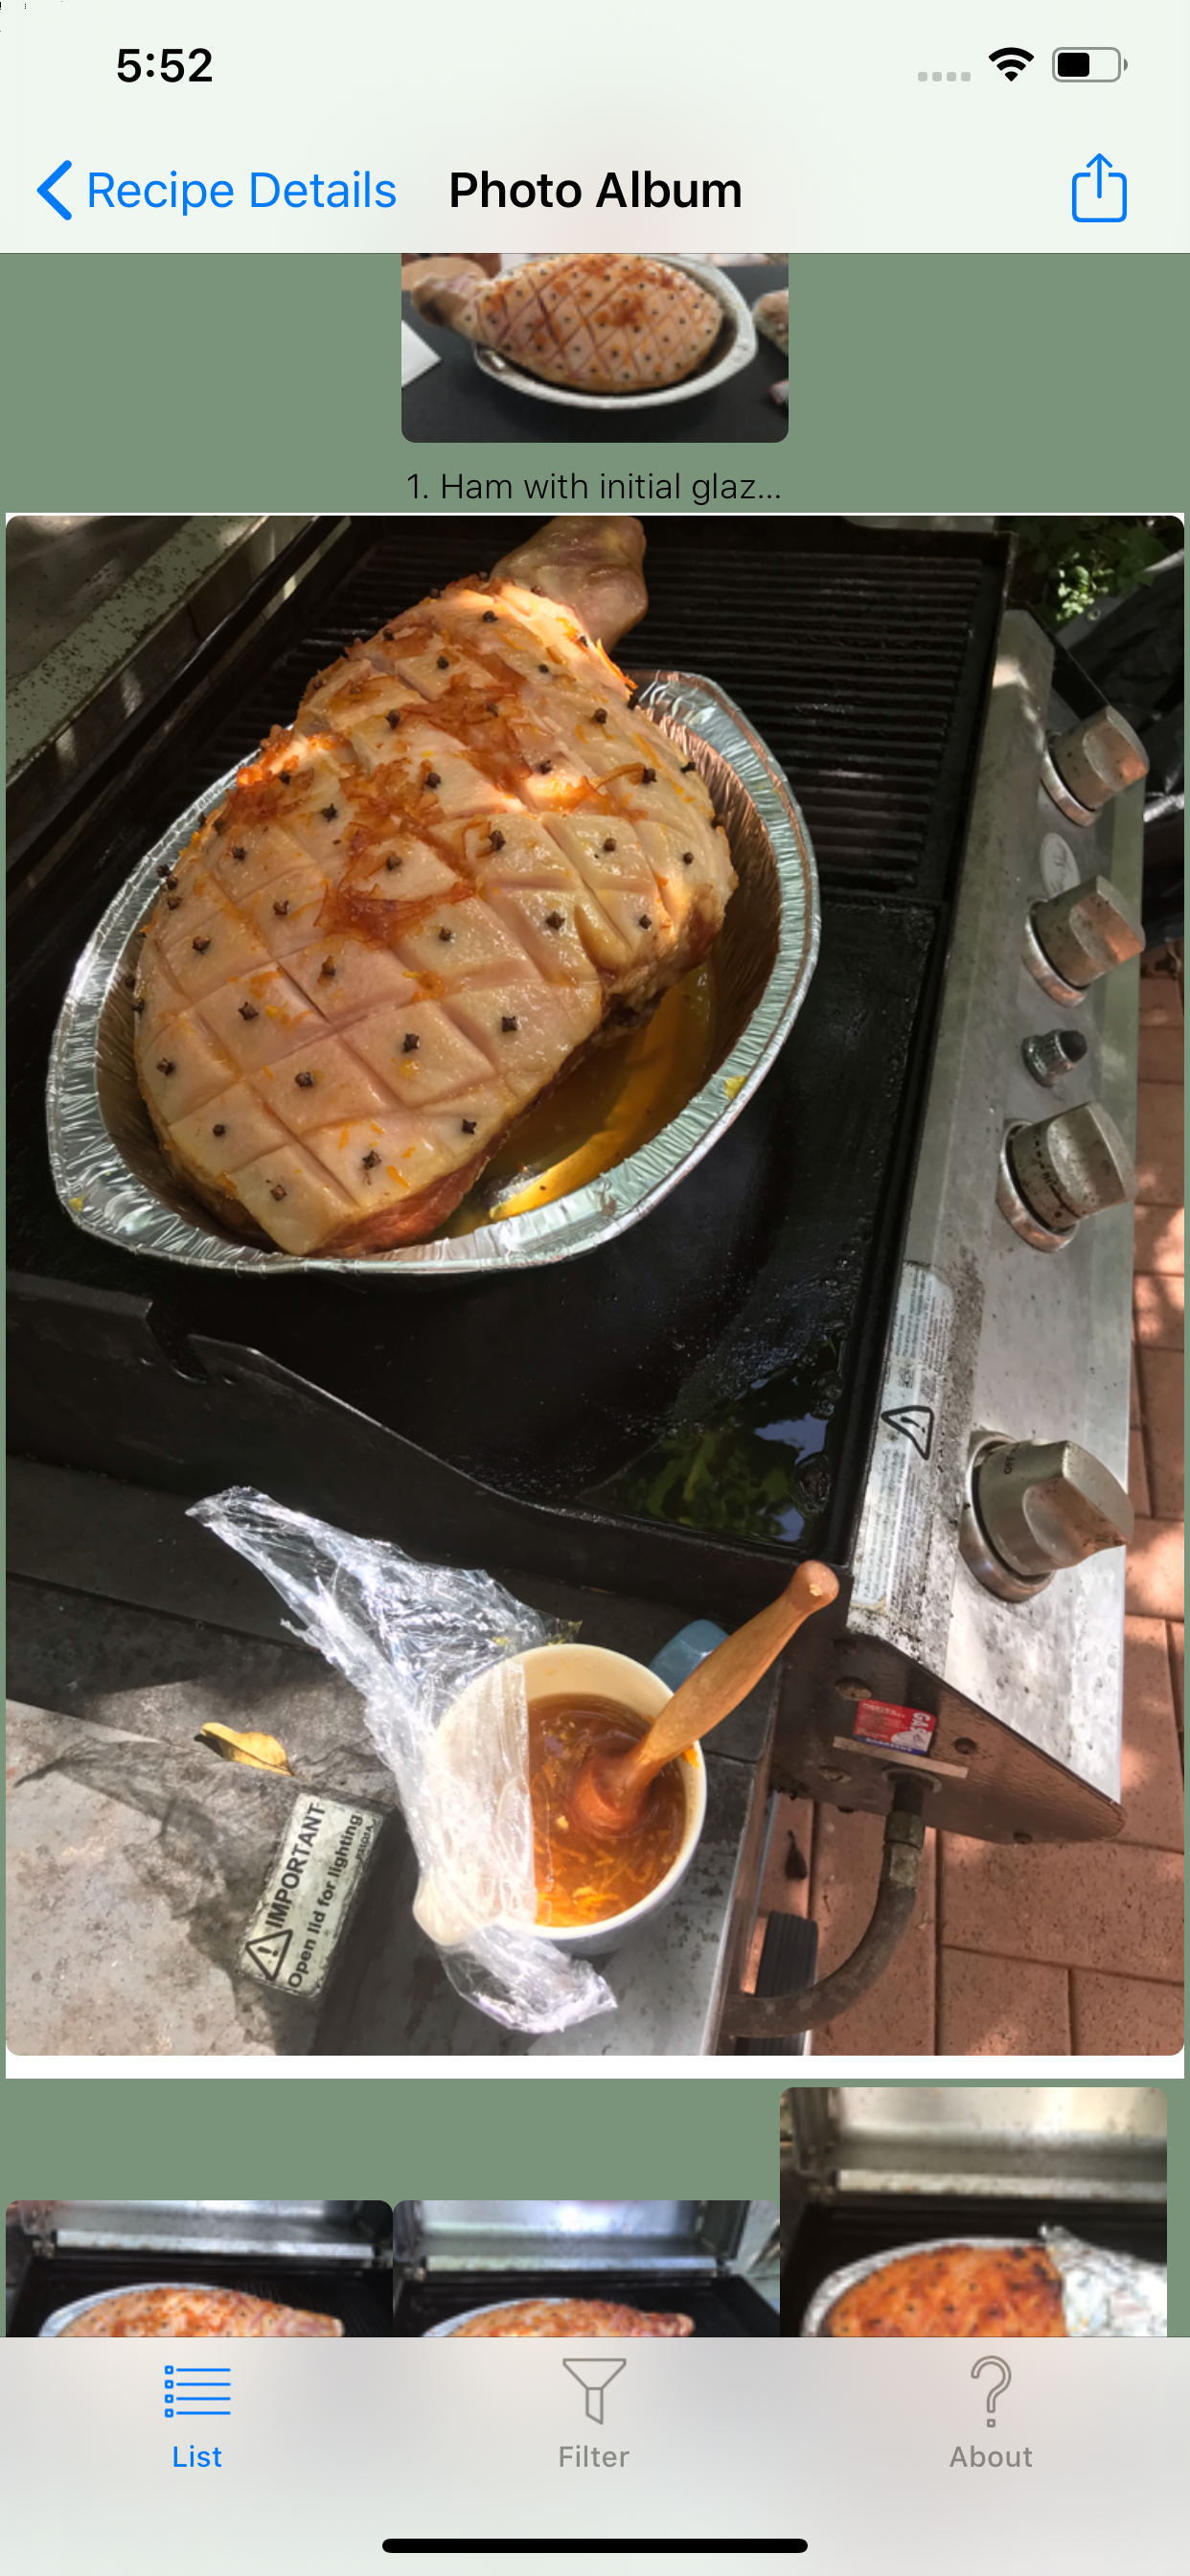
Click on a photo to seen a large version of the selected photo.
The white bits are a bug I must get strong to looking at !
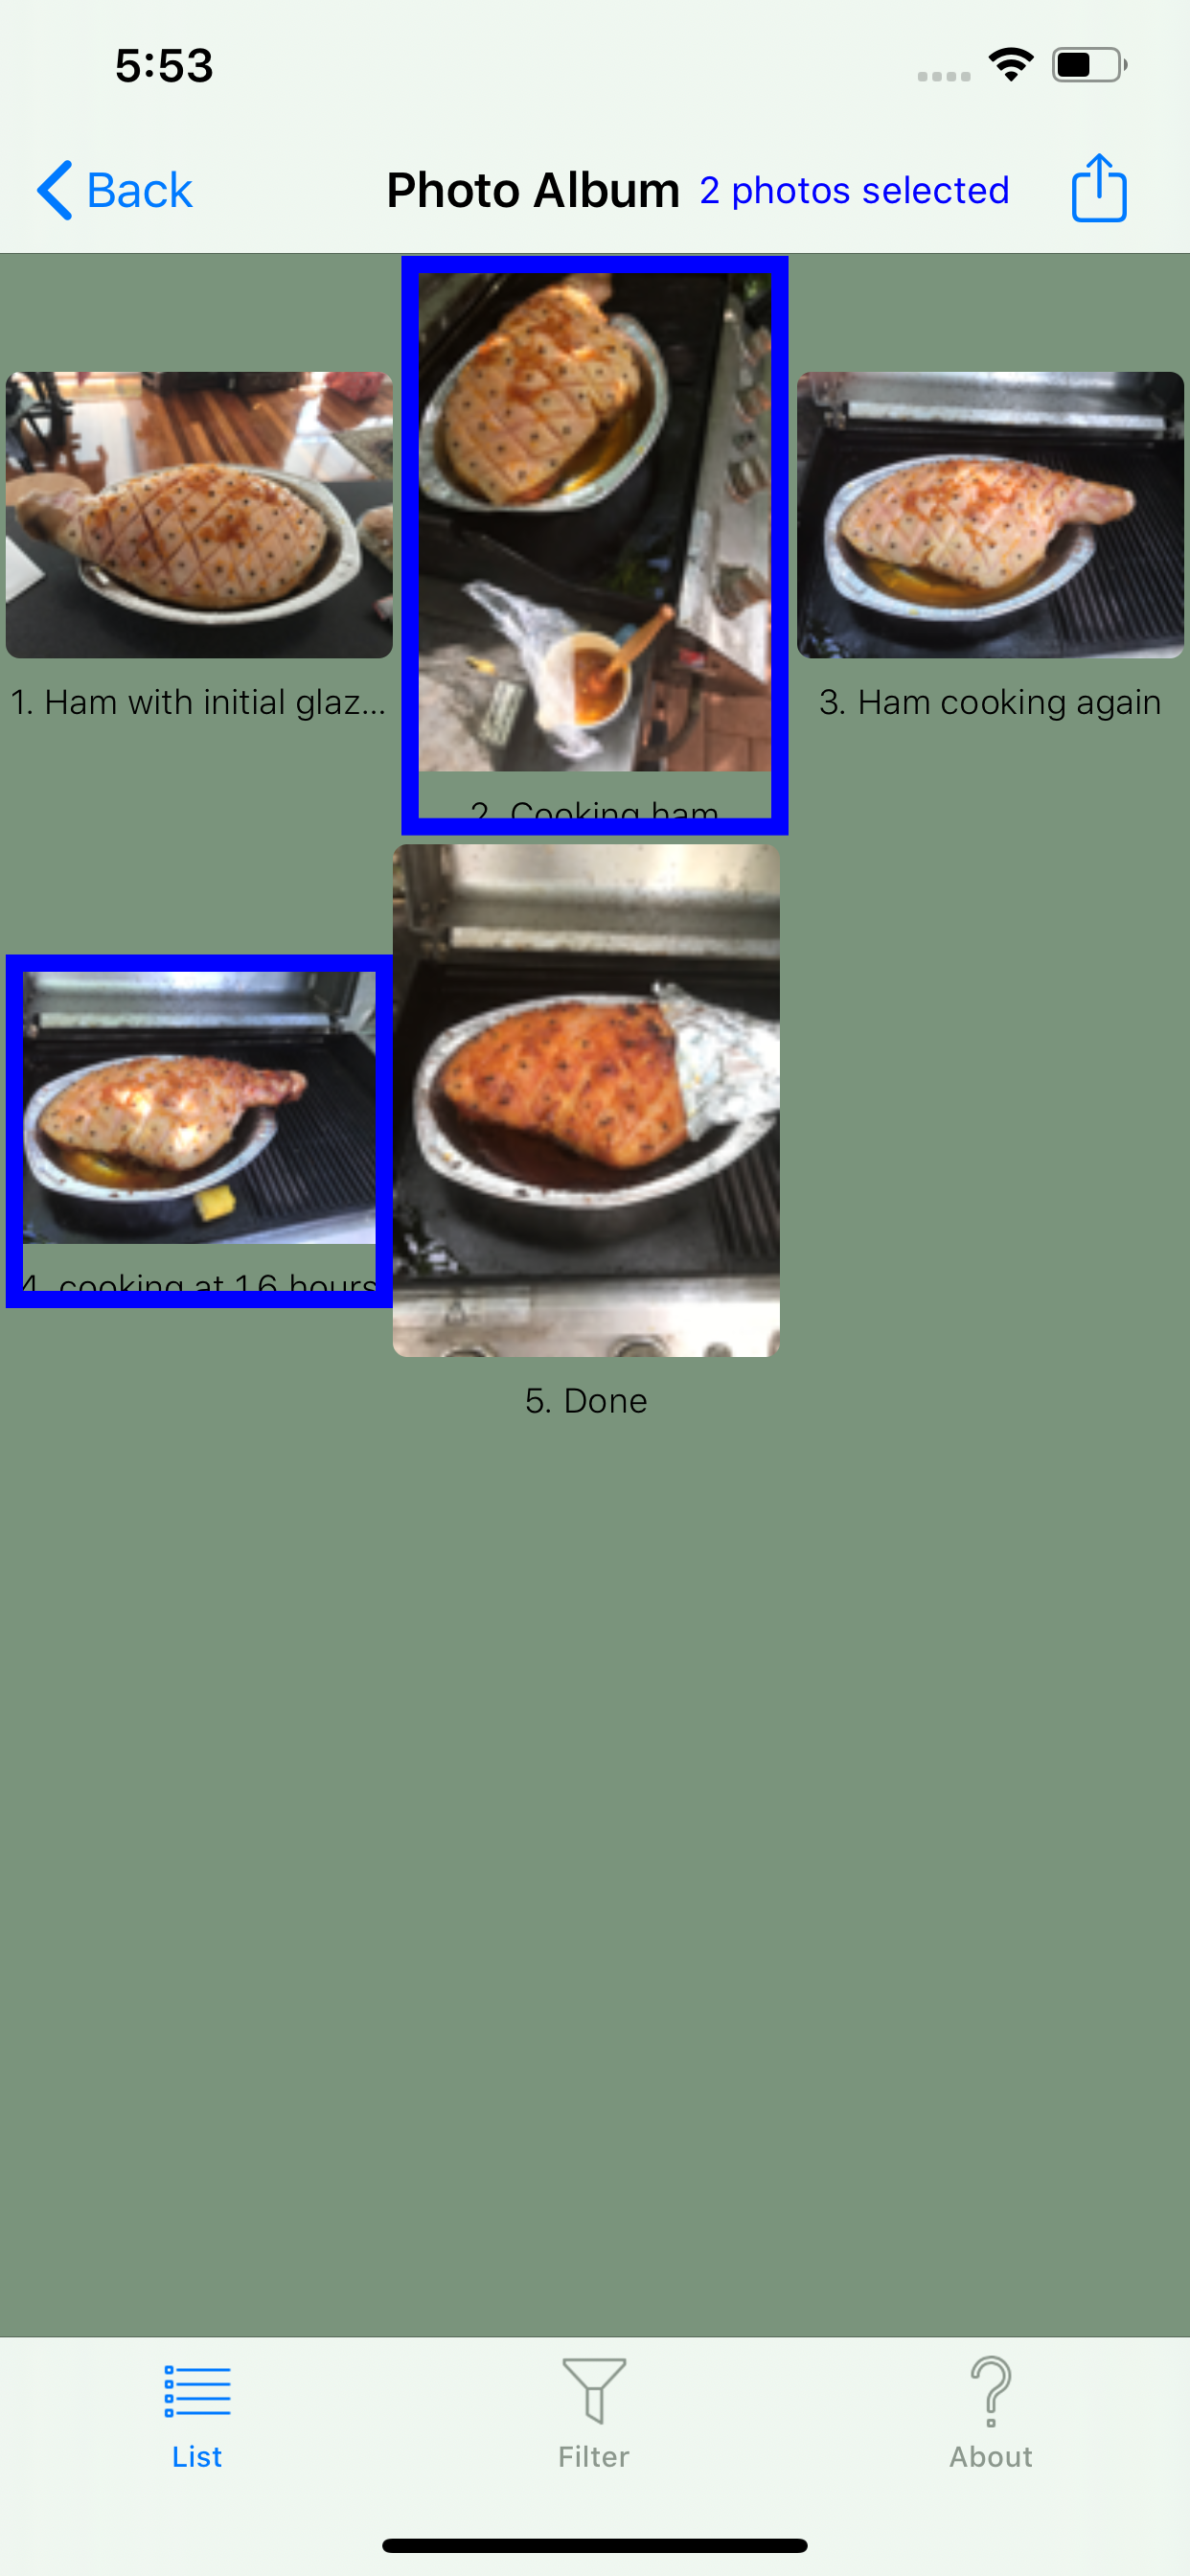 Click on the "Action" button in the top right will activate a mode where you can select a collection of photos by selecting them one at time, the selected photos are shown with a wider border.
You can then press the "Action" button a second time and you can share the selected photos.
The Sharing screen depends on what accounts you have setup on the iOS device you are using.
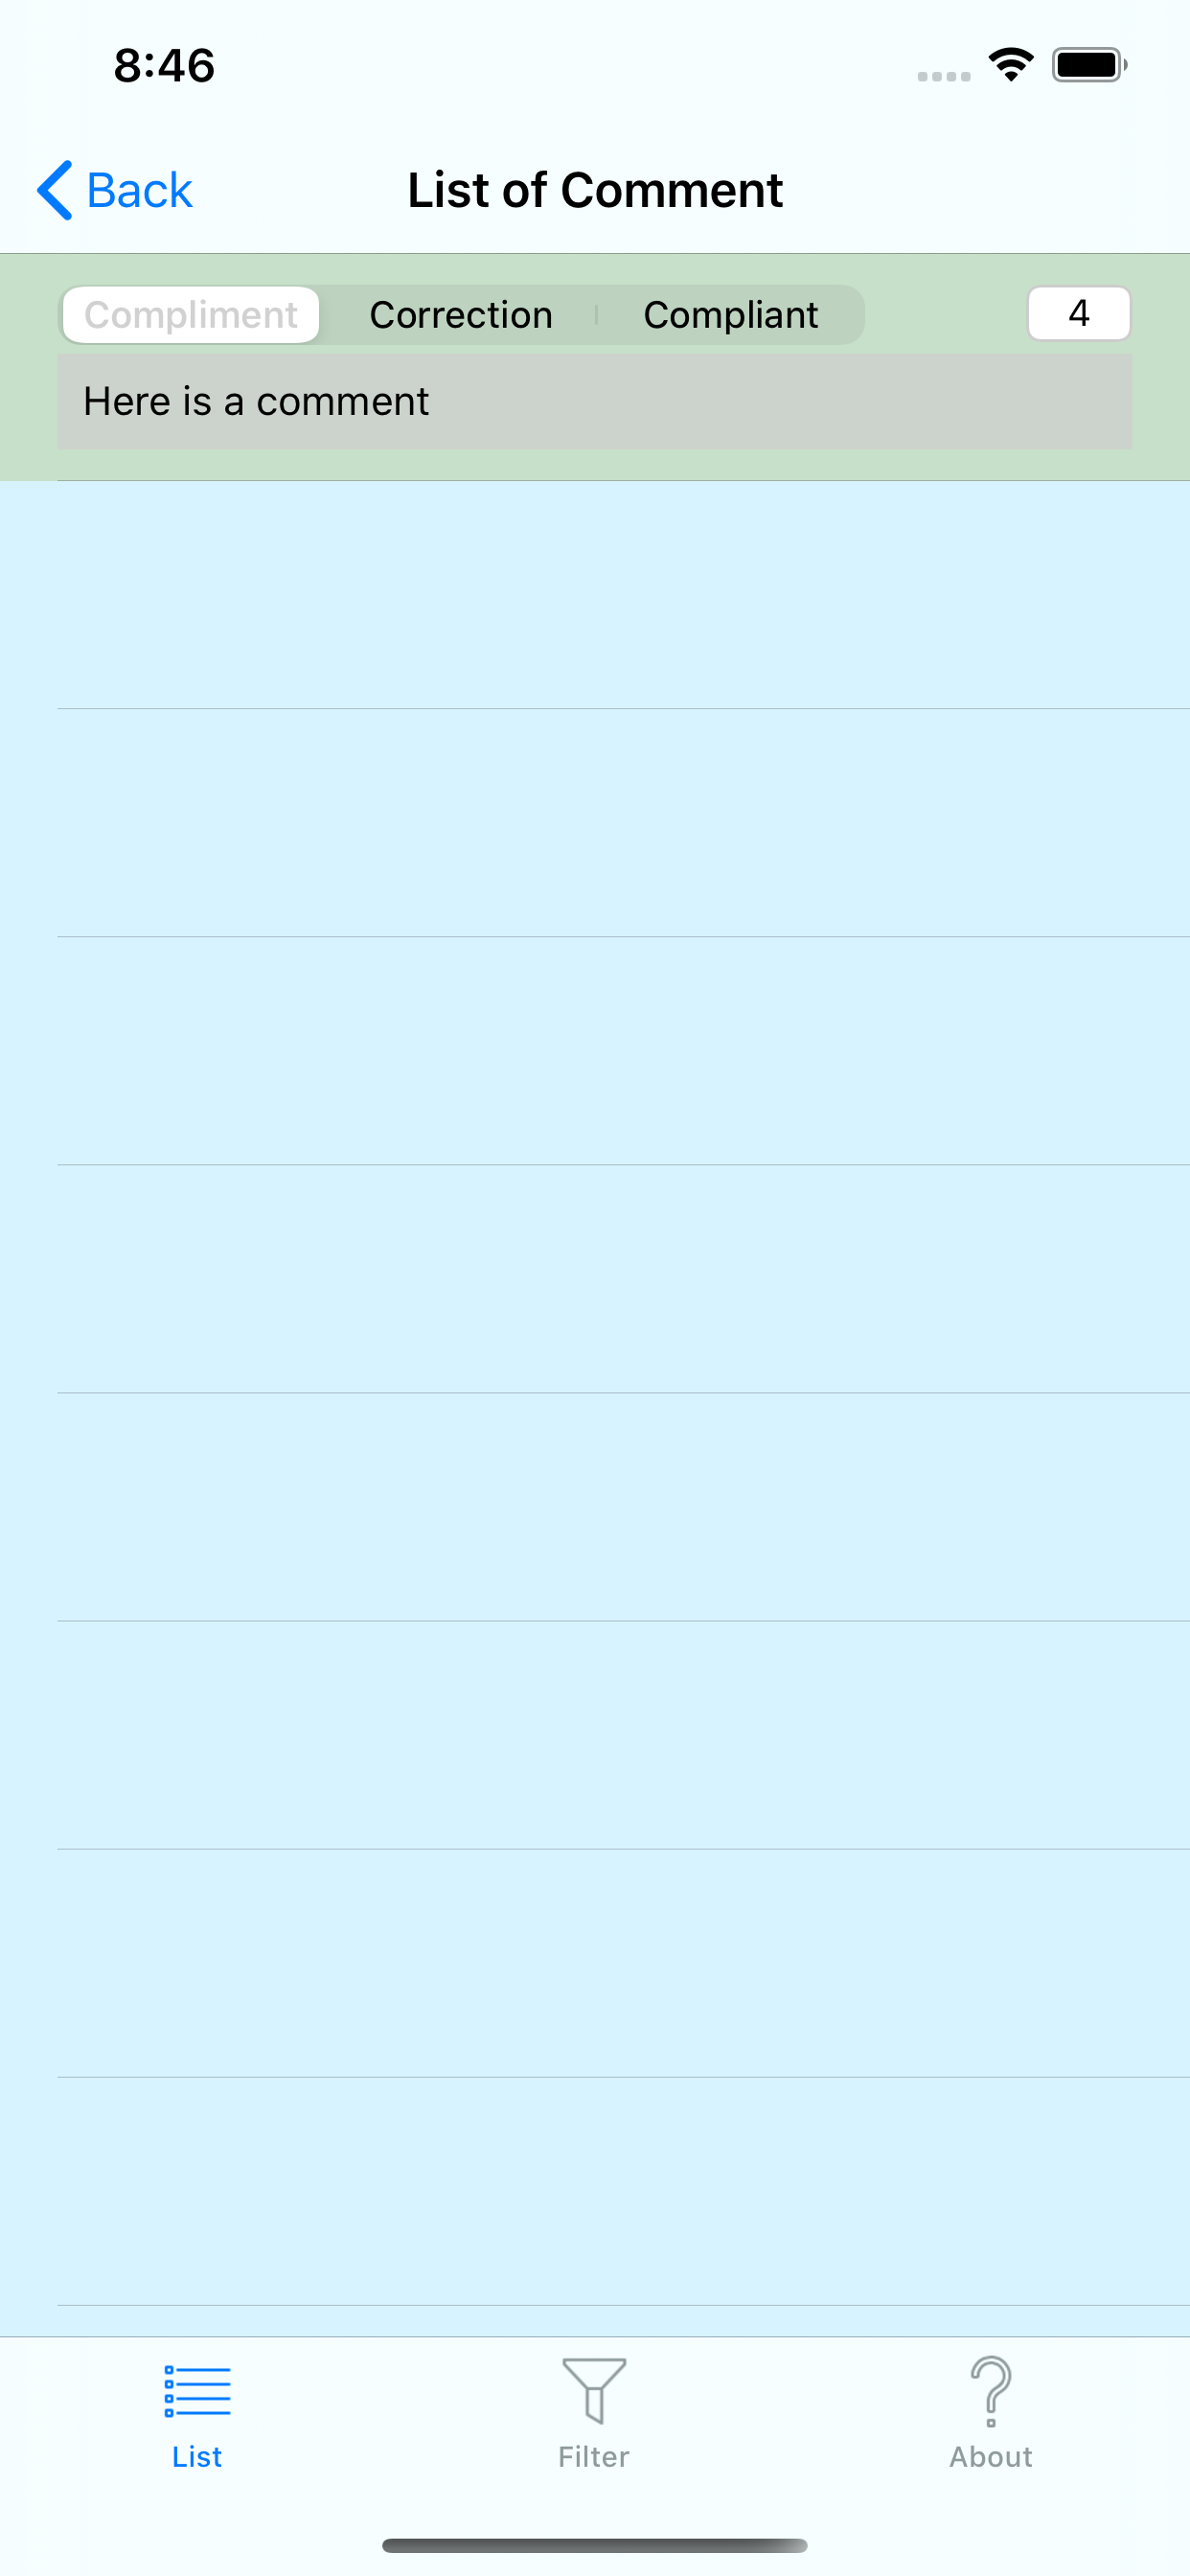
The Comments List Screen will present the comments that have been made on the list in a simple table.
The selector indicates the type of comment, ( it took me a while to think of three "C" words that are appropriate)
The Rating selector gives the comments a rating (4 indicates a very high something).
I have shown two one line comments, there is no limit to the size of comments, just the patience of the author with a iPhone keyboard !
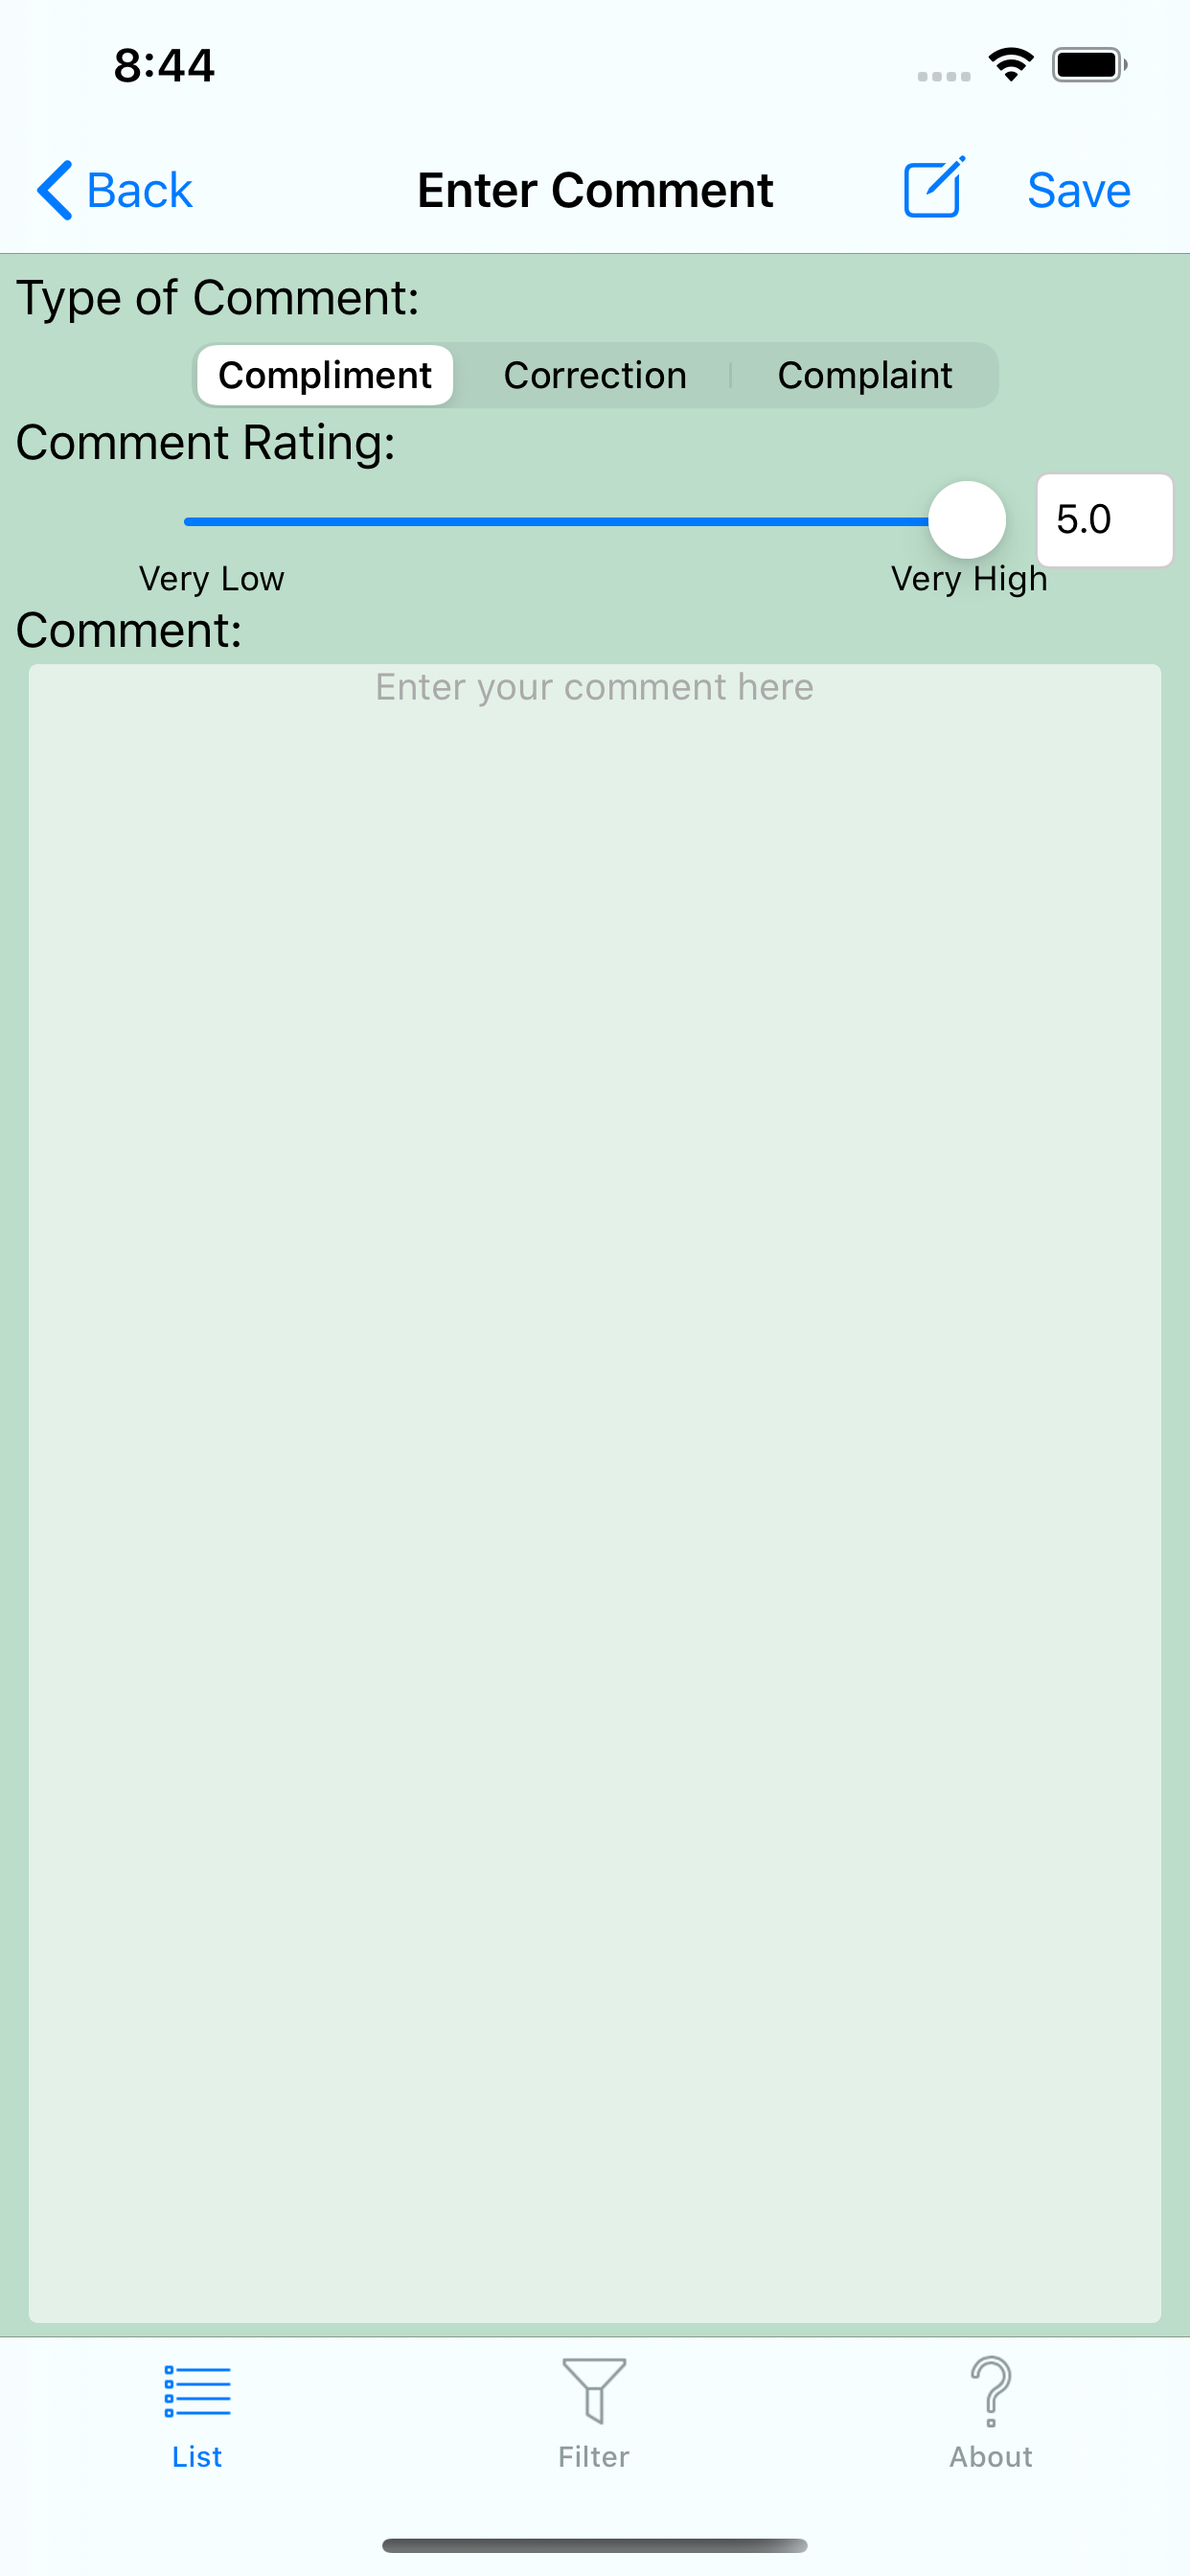 When you select the comments button at the top left of the Trek Details Screen, you will be presented with screen to enter a new comment.
Essentially this presents:
There are two action buttons at the top left, one to save you comment and one to report it to the support email box(if you want some action taken about the trek). The dreaded complaints line.
