|
To edit recipes you must have a iCloud Account and your device must be logged in. The App uses the CloudKit to store information and those are the requirements to write to the CloudKit. When you first create a new recipe it is private, only you can see it, and only from the editing screens. When you are ready you can make a Recipe public using the "Publish" button, the only requirement is that you send an email to the support email address, which you will be invited to do when you tap the publish button. This gives us a point of contact if we need to request that you modify some information in your Recipes, if you ignore our requests, we do have the power to modify your information. It is private from most of humanity, but not from the development team.
The golden rule is that you can only edit what you create.
Once you tap the "Edit" button, when you satisfy the editing criteria you will be presented with "Edit Notes" screen. It is basically a spacer between the editing and non-emitting sections of the App. It does contain some limited help on editing.
The Recipe Editing section of the App uses all the same screens but enables editing everywhere. Mostly tapping on something will bring up an editor. in a popup or another screen.
There are additional action buttons on every screen. Typically once you modify something the "Back" button on the left top of the screen will disappear, you can then save your change or cancel to drop it. The back button is removed so you don't accidentally loose your changes.
Deletion of things, particular Recipe is tedious, but deliberately so. You will have hit delete 4 times to delete a public trek for example. Sorry but I want you to be really really sure.
Whilst you are editing your recipe you can keep it's contents private until you are ready to publish it. Published treks are still available for further editing, but it is better if unpublish them before you edit them, otherwise users will get have completed updates that may confuse them.
Note: You can only publish a recipe from a device that has an active email account, however private recipes will be distributed to any device connected to your iCloud account (that has the app installed). You can choose to unpublish it, but that will not remove it immediately from every device that has the app installed, however it will be hidden once the device interacts with the network.
Note: Filters will be be applied to recipes you have edited, so don't be immediately alarmed if all your treks don't appear.
 This screen is really just a spacer between the recipe display and recipe editing parts of the application.
The screen provides some basic help for editing a trek.
When you start editing a trek, its is private to just you, when you want to share you can publish it. Which essentially requires you send the application support address an email, so we know how to contact you if we have too.
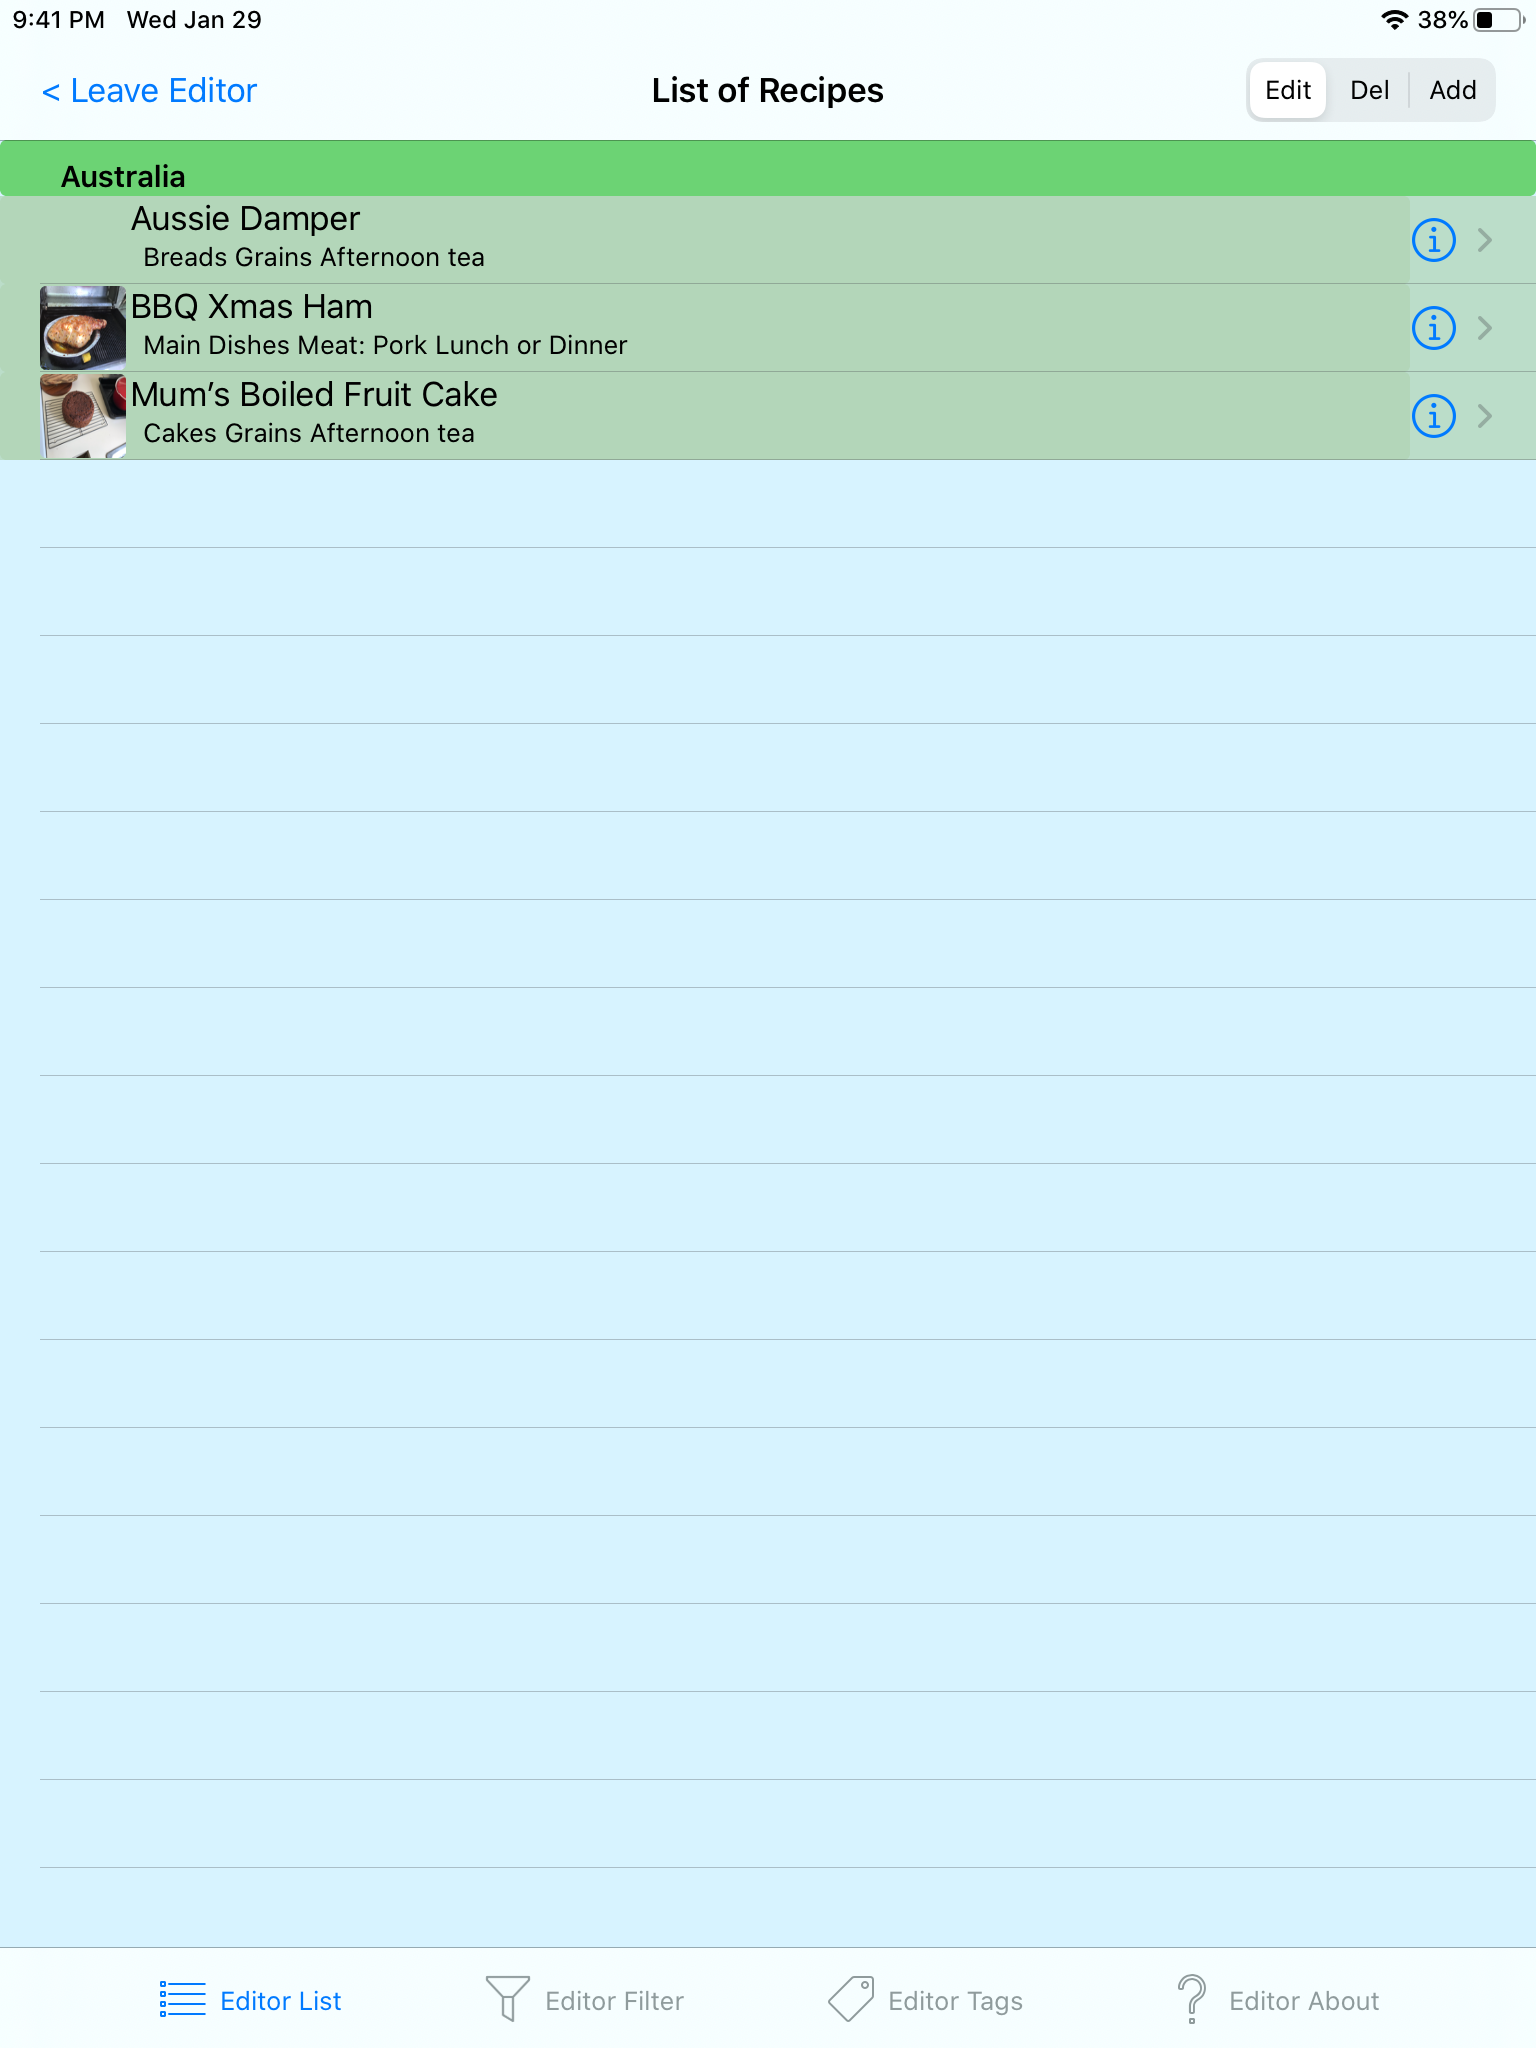
The recipe list screen the major change is that the "Edit" button, is replaced with a segmented control.
In the "Edit" position, selecting a Recipe in the list will take you to a Recipe Details Screen for the Recipe, but a view in which you can edit things about the recipe.
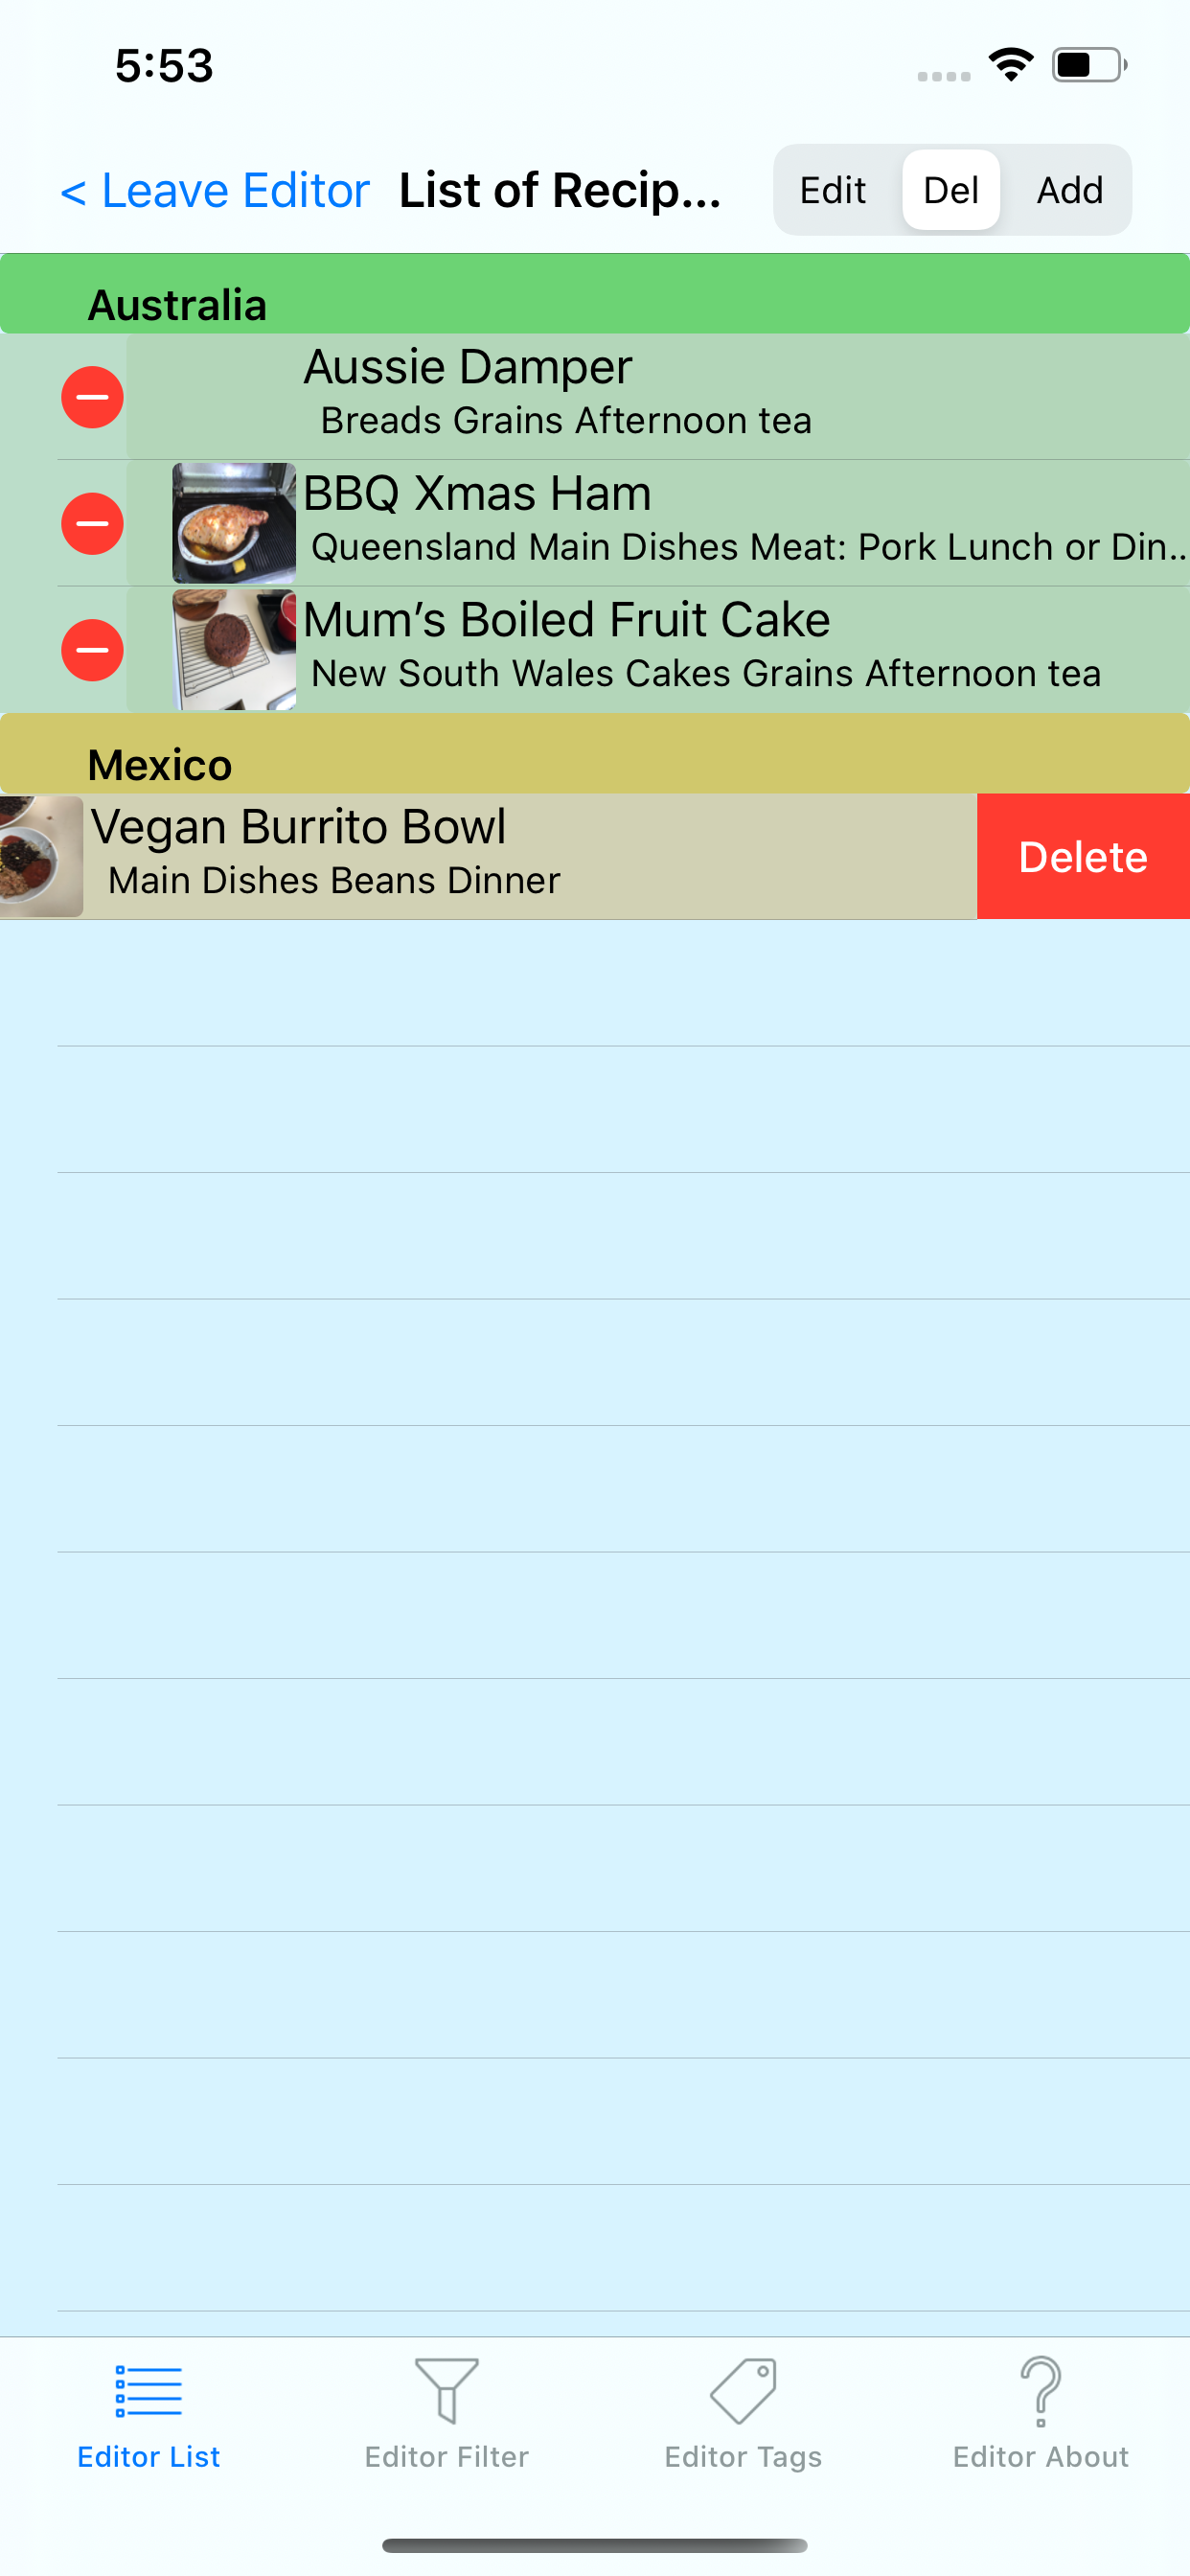
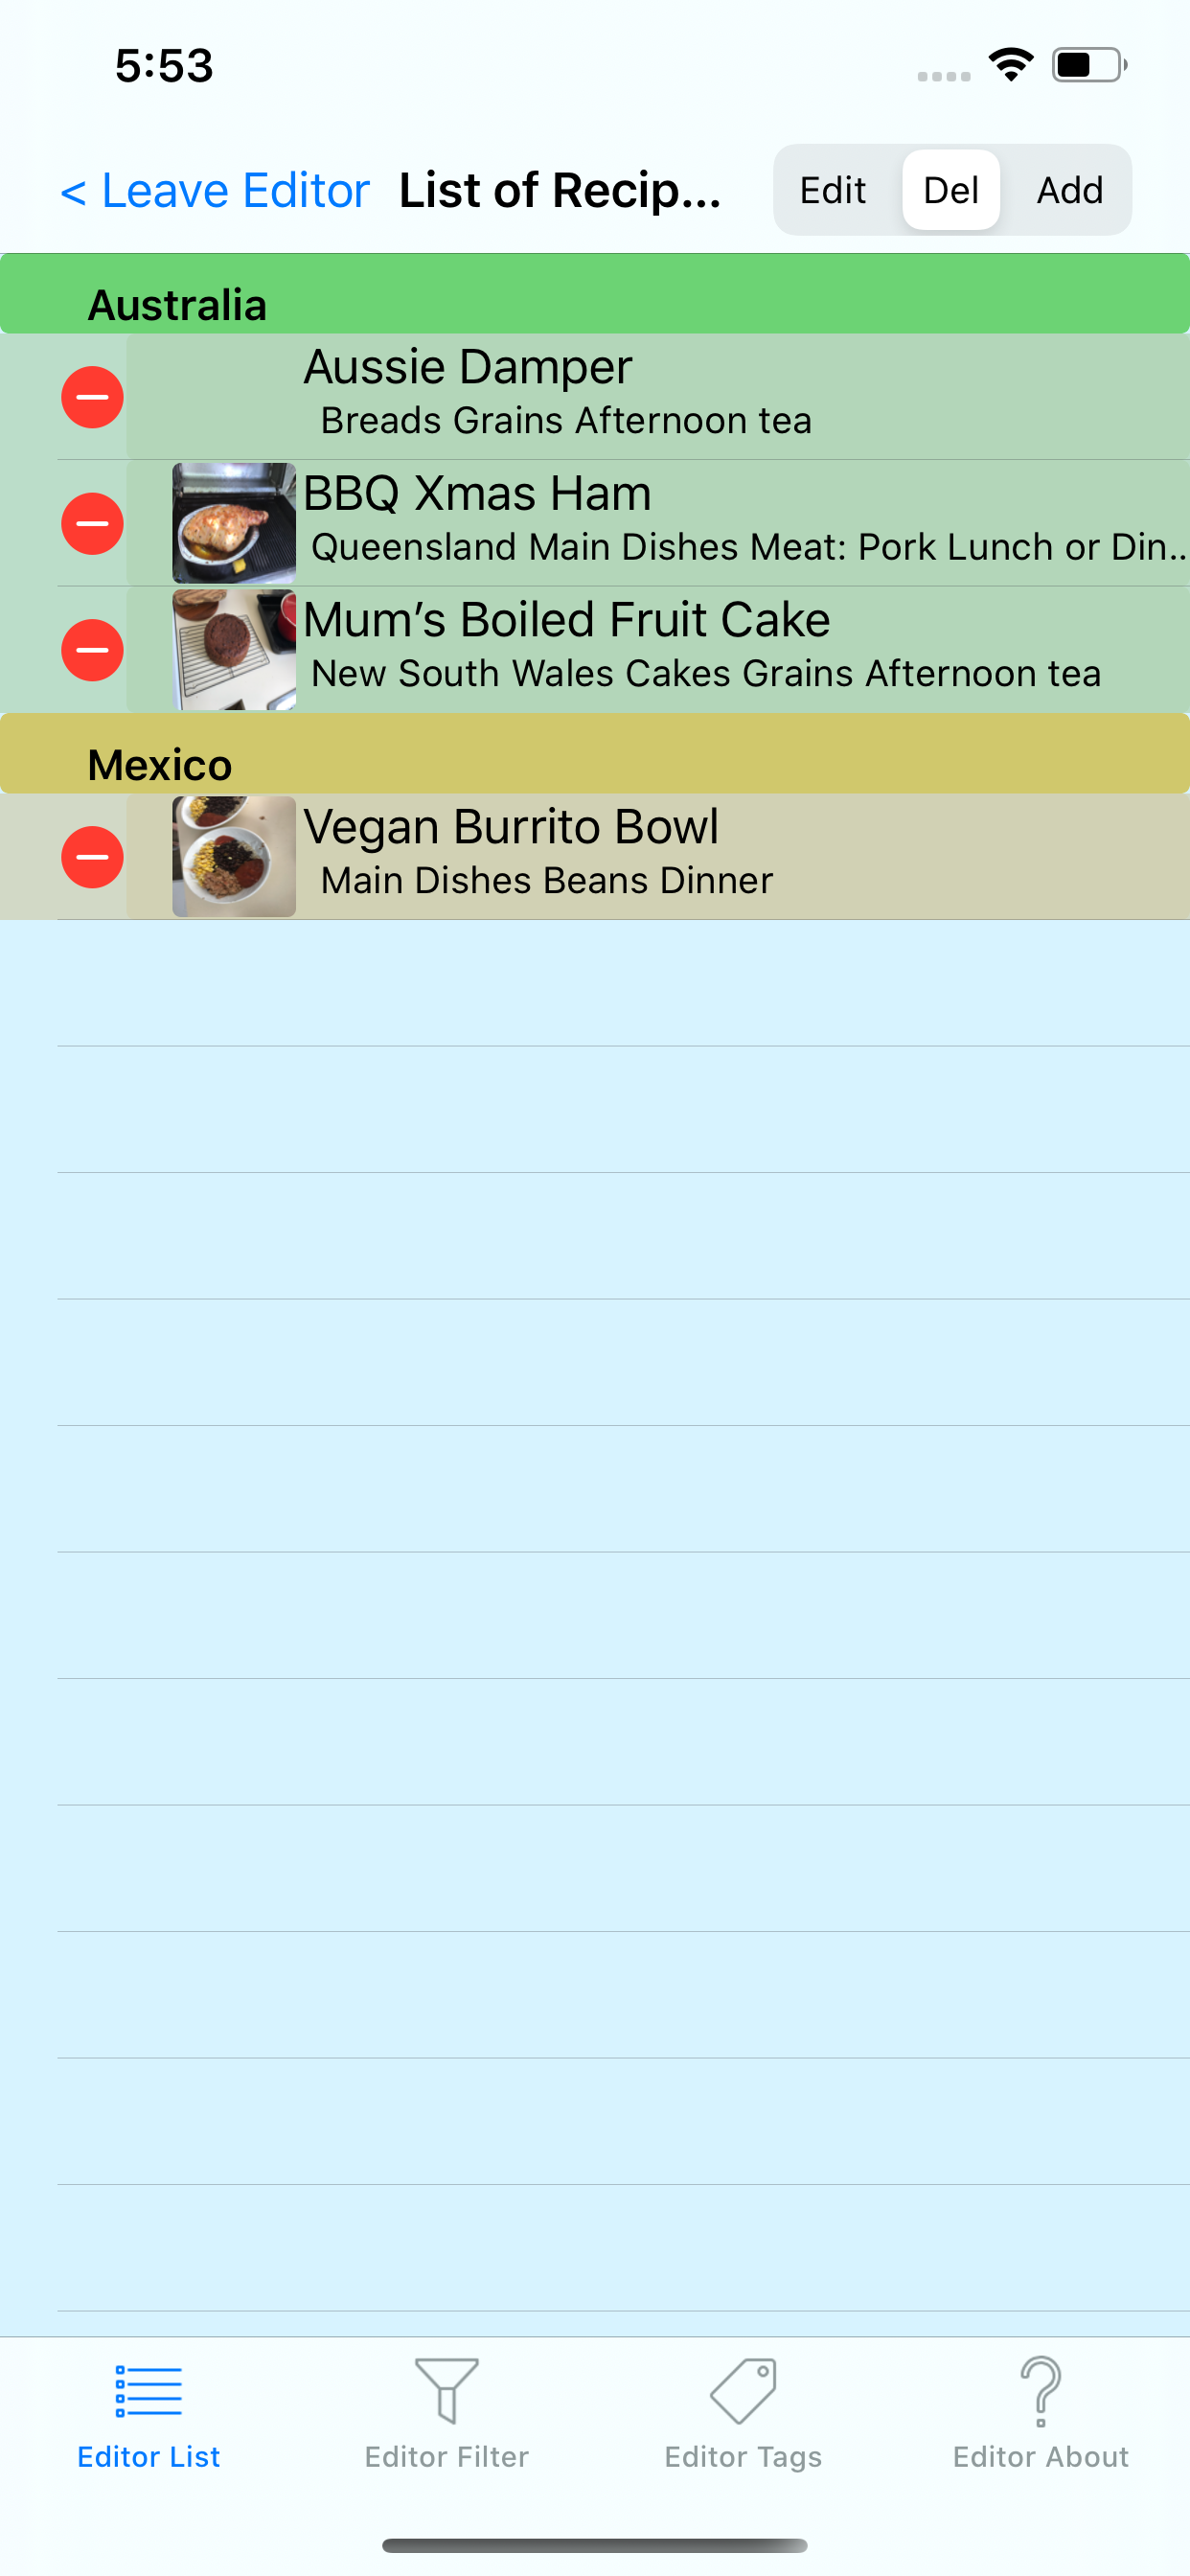 In the "Delete" position you will be presented with Red "-" signs against each entry in the list. Select a "-" sign, and a red "Delete" button is presented.
Tap on the "Delete" button and you will presented with details screen for recipe, but with a "Trash" button on the top right replacing the "Comment" button. The idea is that you can the review what you are about to delete.
 Clicking on the Trash Can will delete the recipe. If you happen to deleting a "public" trek you will be asked "Are you sure" before the details screen appears, there is no visible reminder that a Recipe is public, hence the extra question. As I said a little tedious but deliberately so.
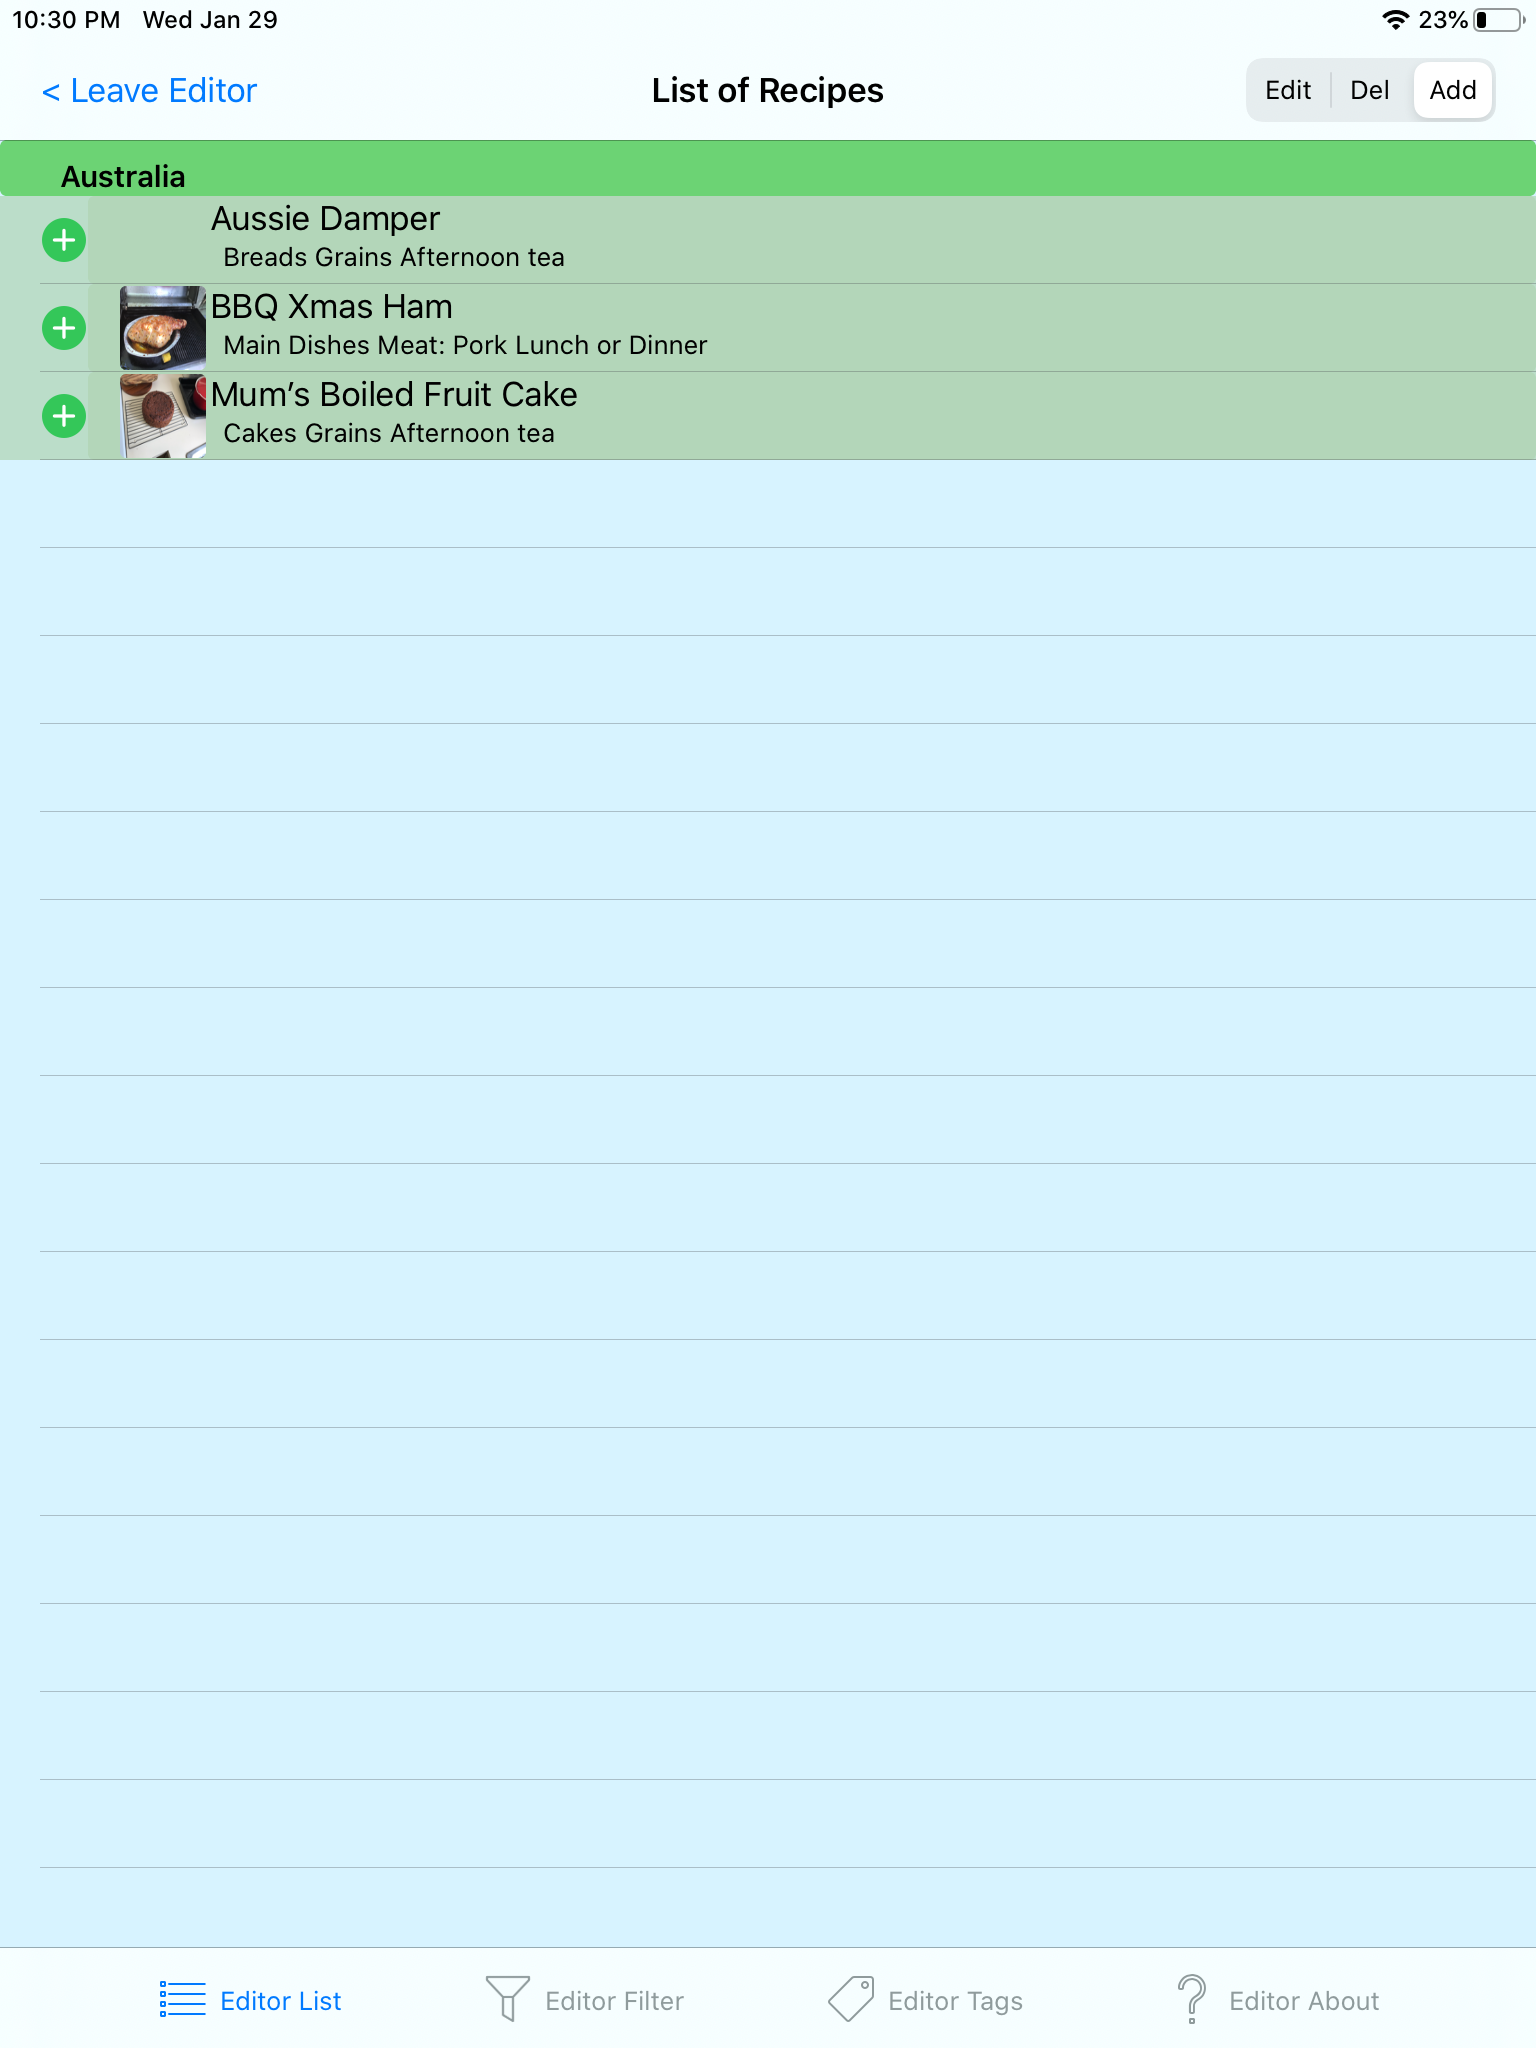
In the "Add" position, if there are no treks in the list you will be sent to an empty trek details screen, otherwise you get presented with a green "+" against each entry in the list, click on any green "+" will take you to an empty trek details screen.
The Recipe Details screen at is as described in the structure section.
Tapping on a text field will bring up a text editing popup.
Tapping on the Photo will take you a photo editing screen, where you can add any photo available on your device, so if you are doing it on the fly take a photo with the camera.
Tapping on the map will take you to the trek highlights and route map screen where you can refine the location of the trek.
Tapping on the Country, Region ad Nearest Town will bring up a complex screen. It lets you select previously used entries, but it also lets you create new ones, when you create a new one, you get to pick the associated colour. If you select one you created, you can also edit it from this screen !
Difficulty and Activity type are similar, although the choices are smaller. Again you can add your own values if you want.
Duration will bring up a special popup to enter the trek duration.
You cant enter your own comments from the editor, but off course you can only you make this trek public.
You can however very the list of them, and yes it does let you delete them !
This screen will present all the possible text fields that can be displayed for a trek. When the trek is displayed publicly, only those fields with text will be displayed.
These screens are described together because they are essentially identical.
They behave very similarly to the Recipe Details screen, not that oddly since they started out life as direct copies.
Tapping on a Text Field brings up a text editing popup display.
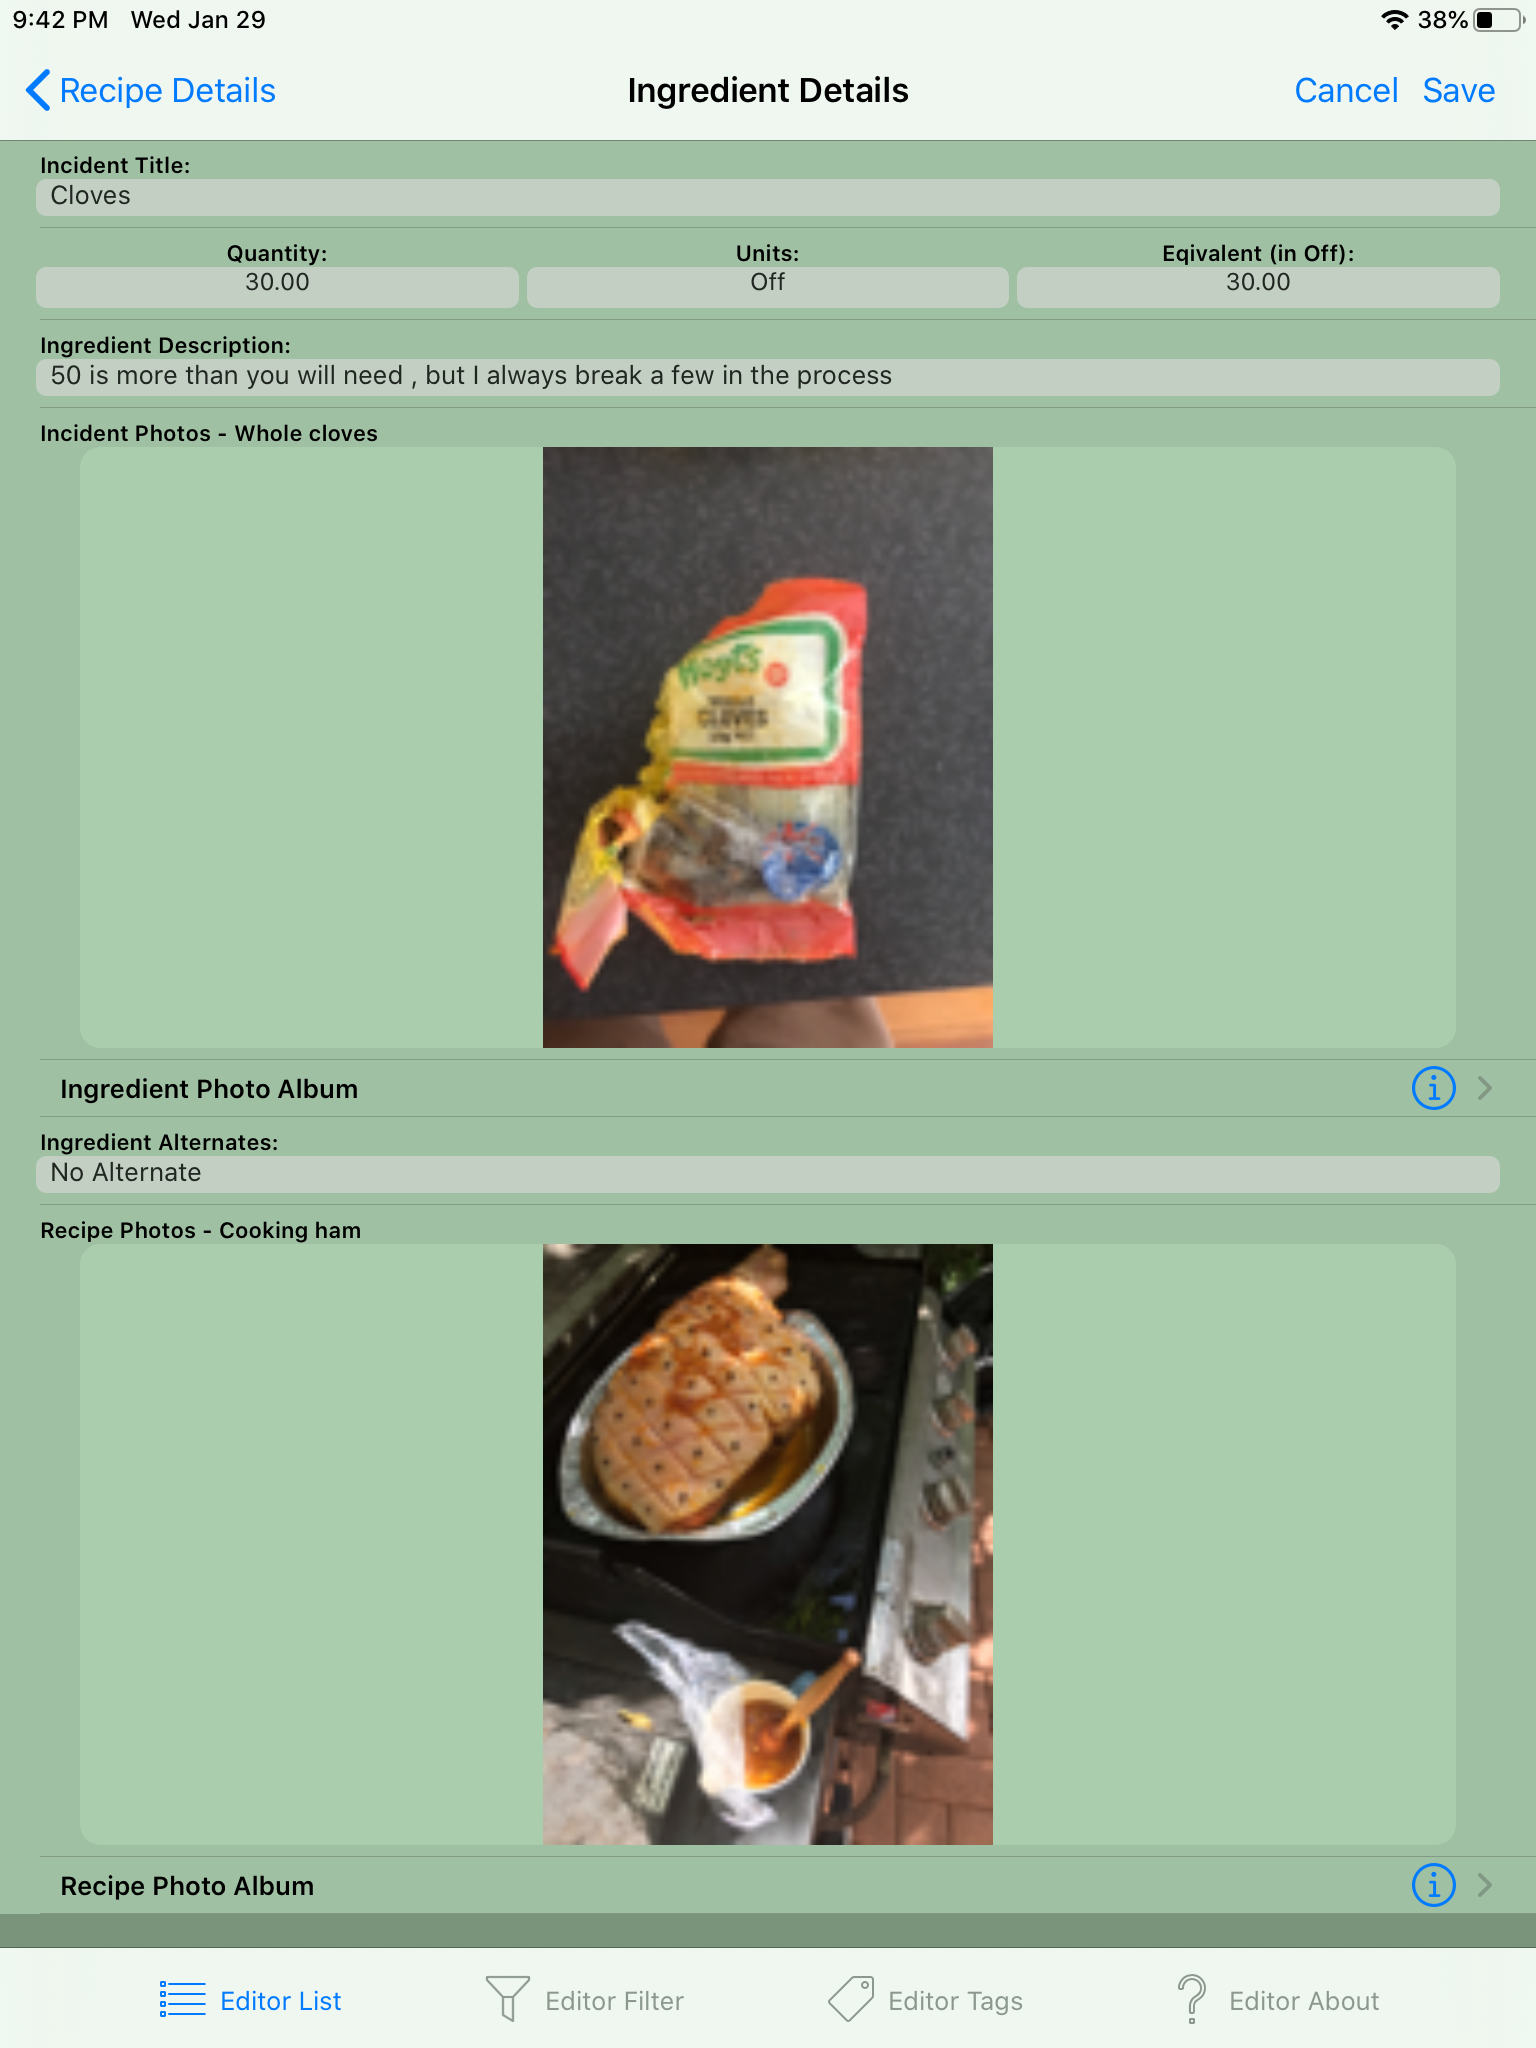
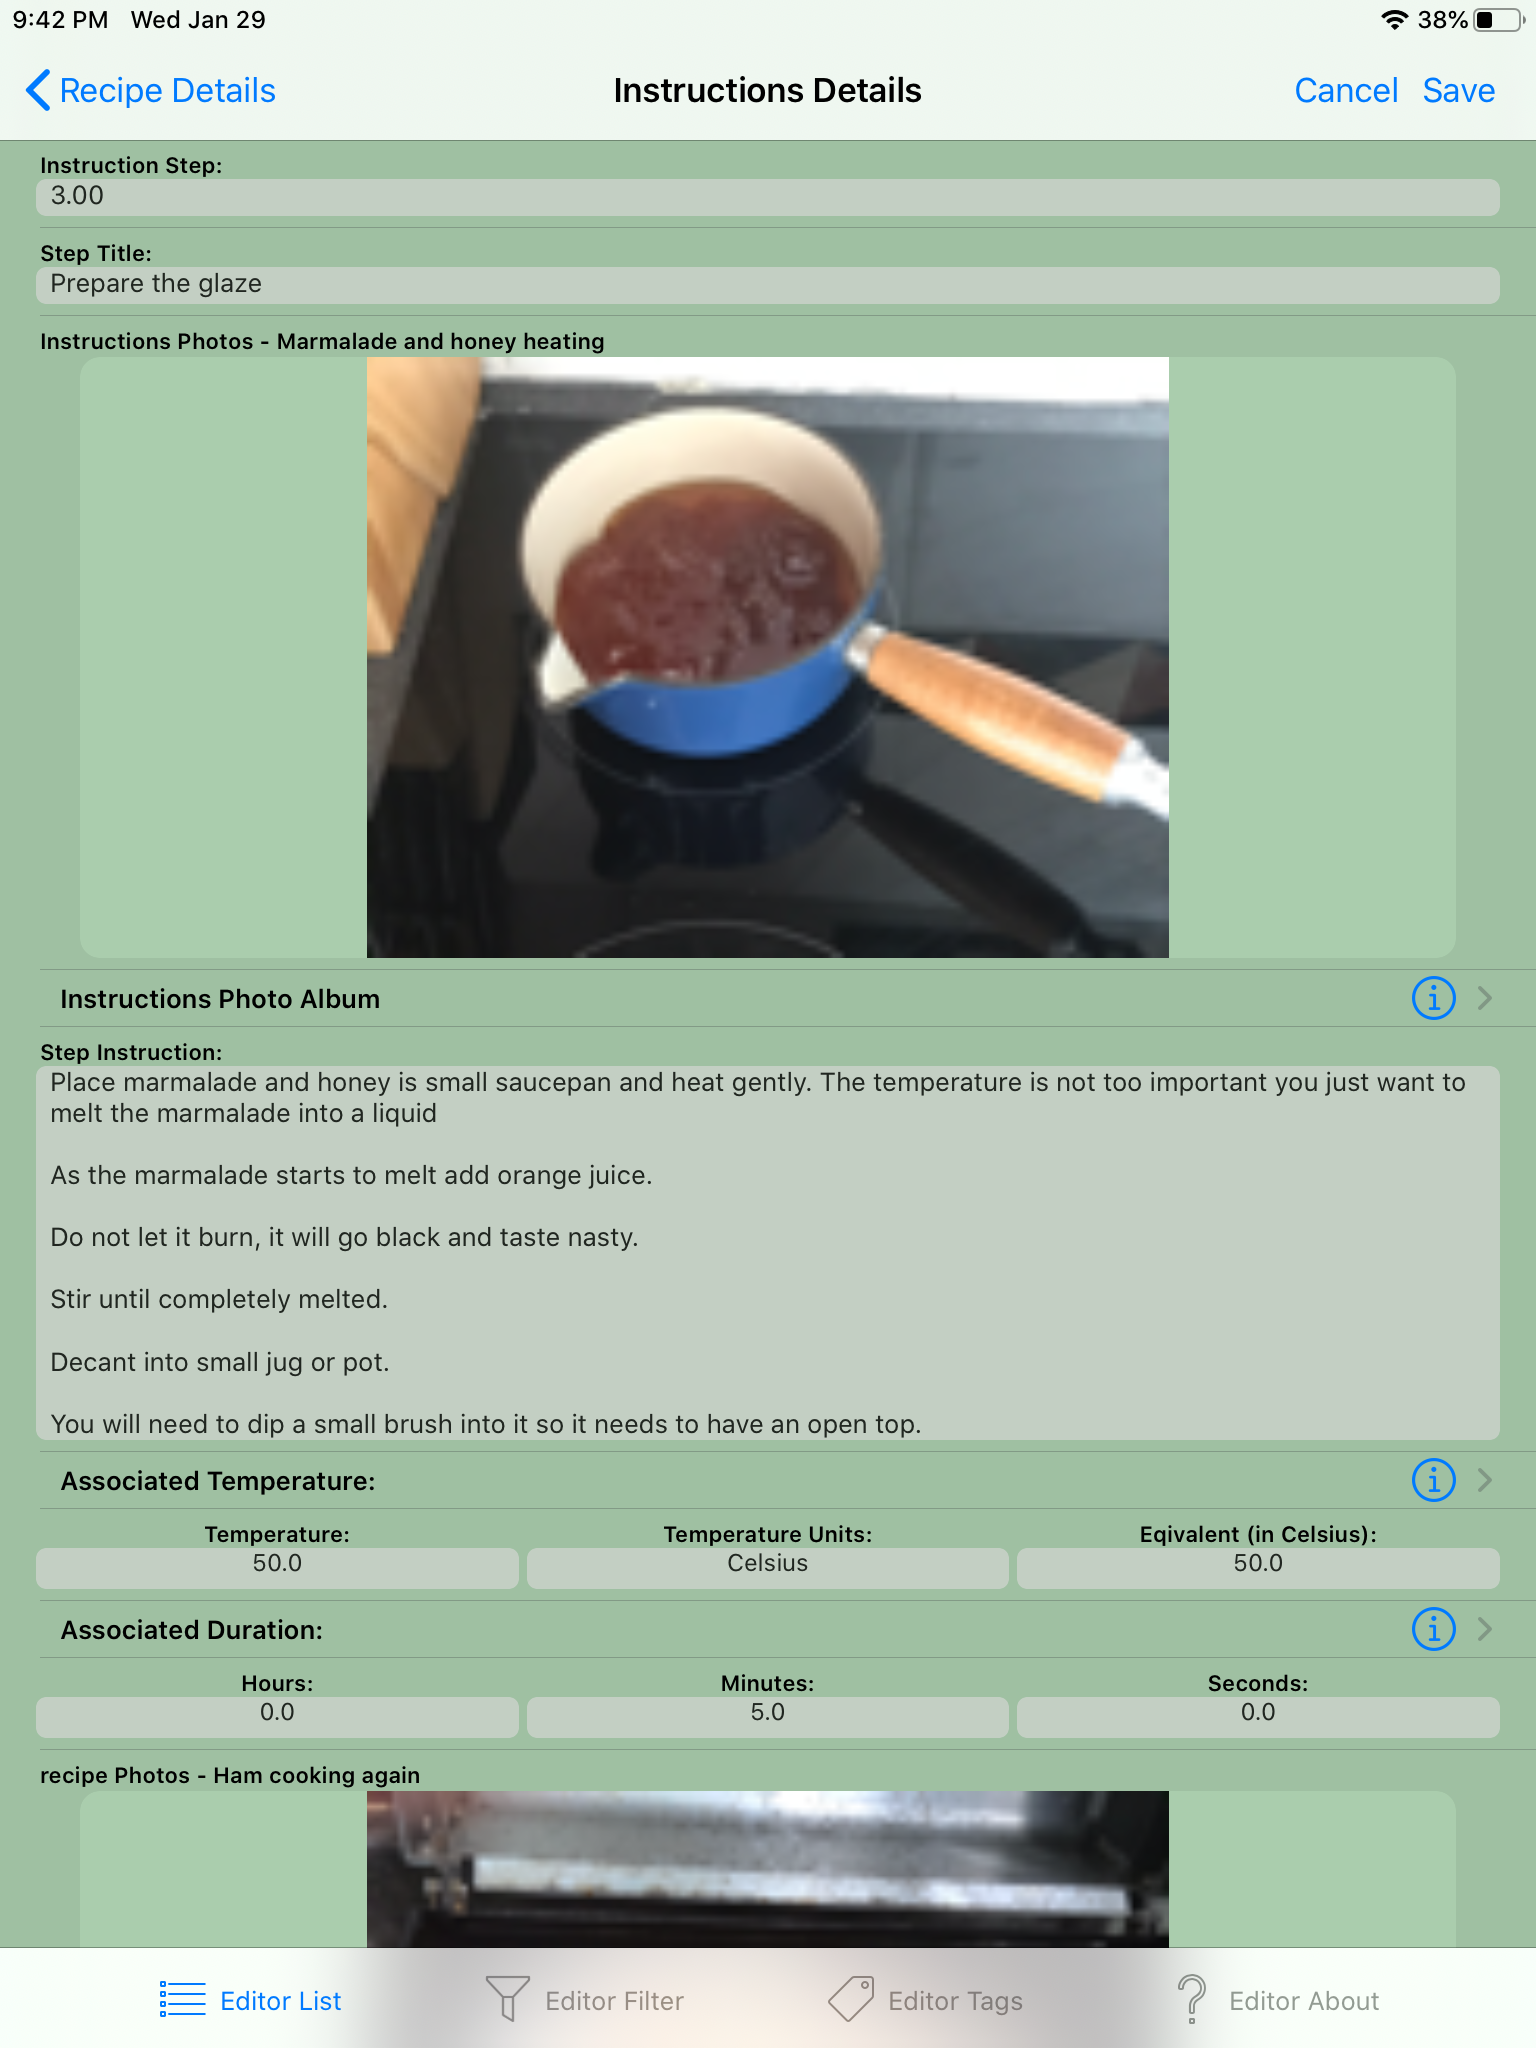
Tapping on a Photo lets you add more photos to the Ingredientst or Instructions
Tapping on the Map does nothing beyond scrolling the map ! Ok I could have gone back to map display, but that seemed pointless.
There are not as many text fields associated with routes points and highlights, but they have the same, readers will only see field that have text defined.

This a popup screen that allows fields to selected that have only limited values. Reader usually only interact with it via the Filters Tab and they just see a simple selector.
However editors get a much more complex popup. It lets you create new values and edit the fields values, but like everything else you can only edit things you created. Because all the field values control colour within the application, and so when you create or edit a field you get to select the associated colour.
The colour selection is however a little constrained, you can only select "brighter" colours, via red, green, blue sliders. You will find that if you select something that would be too dark a colour the other colour sliders will bounce to avoid undesired colours, this can be a little annoying since you don't always get the colour you expect, I recommend gentle movements.
Yes you can delete values you created, but it is not recommended, but if you must a long press over the "New Value" label will reveal a delete button.
